Frozen Fruit and Yogurt Bites

If you’ve been reading the blog for a while, you know that I really try to live a crunchy lifestyle. When it comes to food I’m not really into dyes, not thrilled about preservatives and really detest high fructose corn syrup. I try to make sure that anything that I buy at the grocery store meets the no colors, no additives, and no corn syrup rule at the very least. Honestly I would prefer to buy everything organic, my bank account, however doesn’t support my uber crunchy goals. Sigh.
Thankfully there are a couple of tricks I have picked up along my semi crunchy journey. The most important is simpler is always better. As much as I would love to be the mom that prepares gorgeous bento boxes and carved fruit sculptures for my kids to nosh on, it just isn’t going to happen. I’m a busy mom, I don’t have time to be compete with all the Pinterest moms out there. I want something easy, quick and better for you, is that too much to ask?
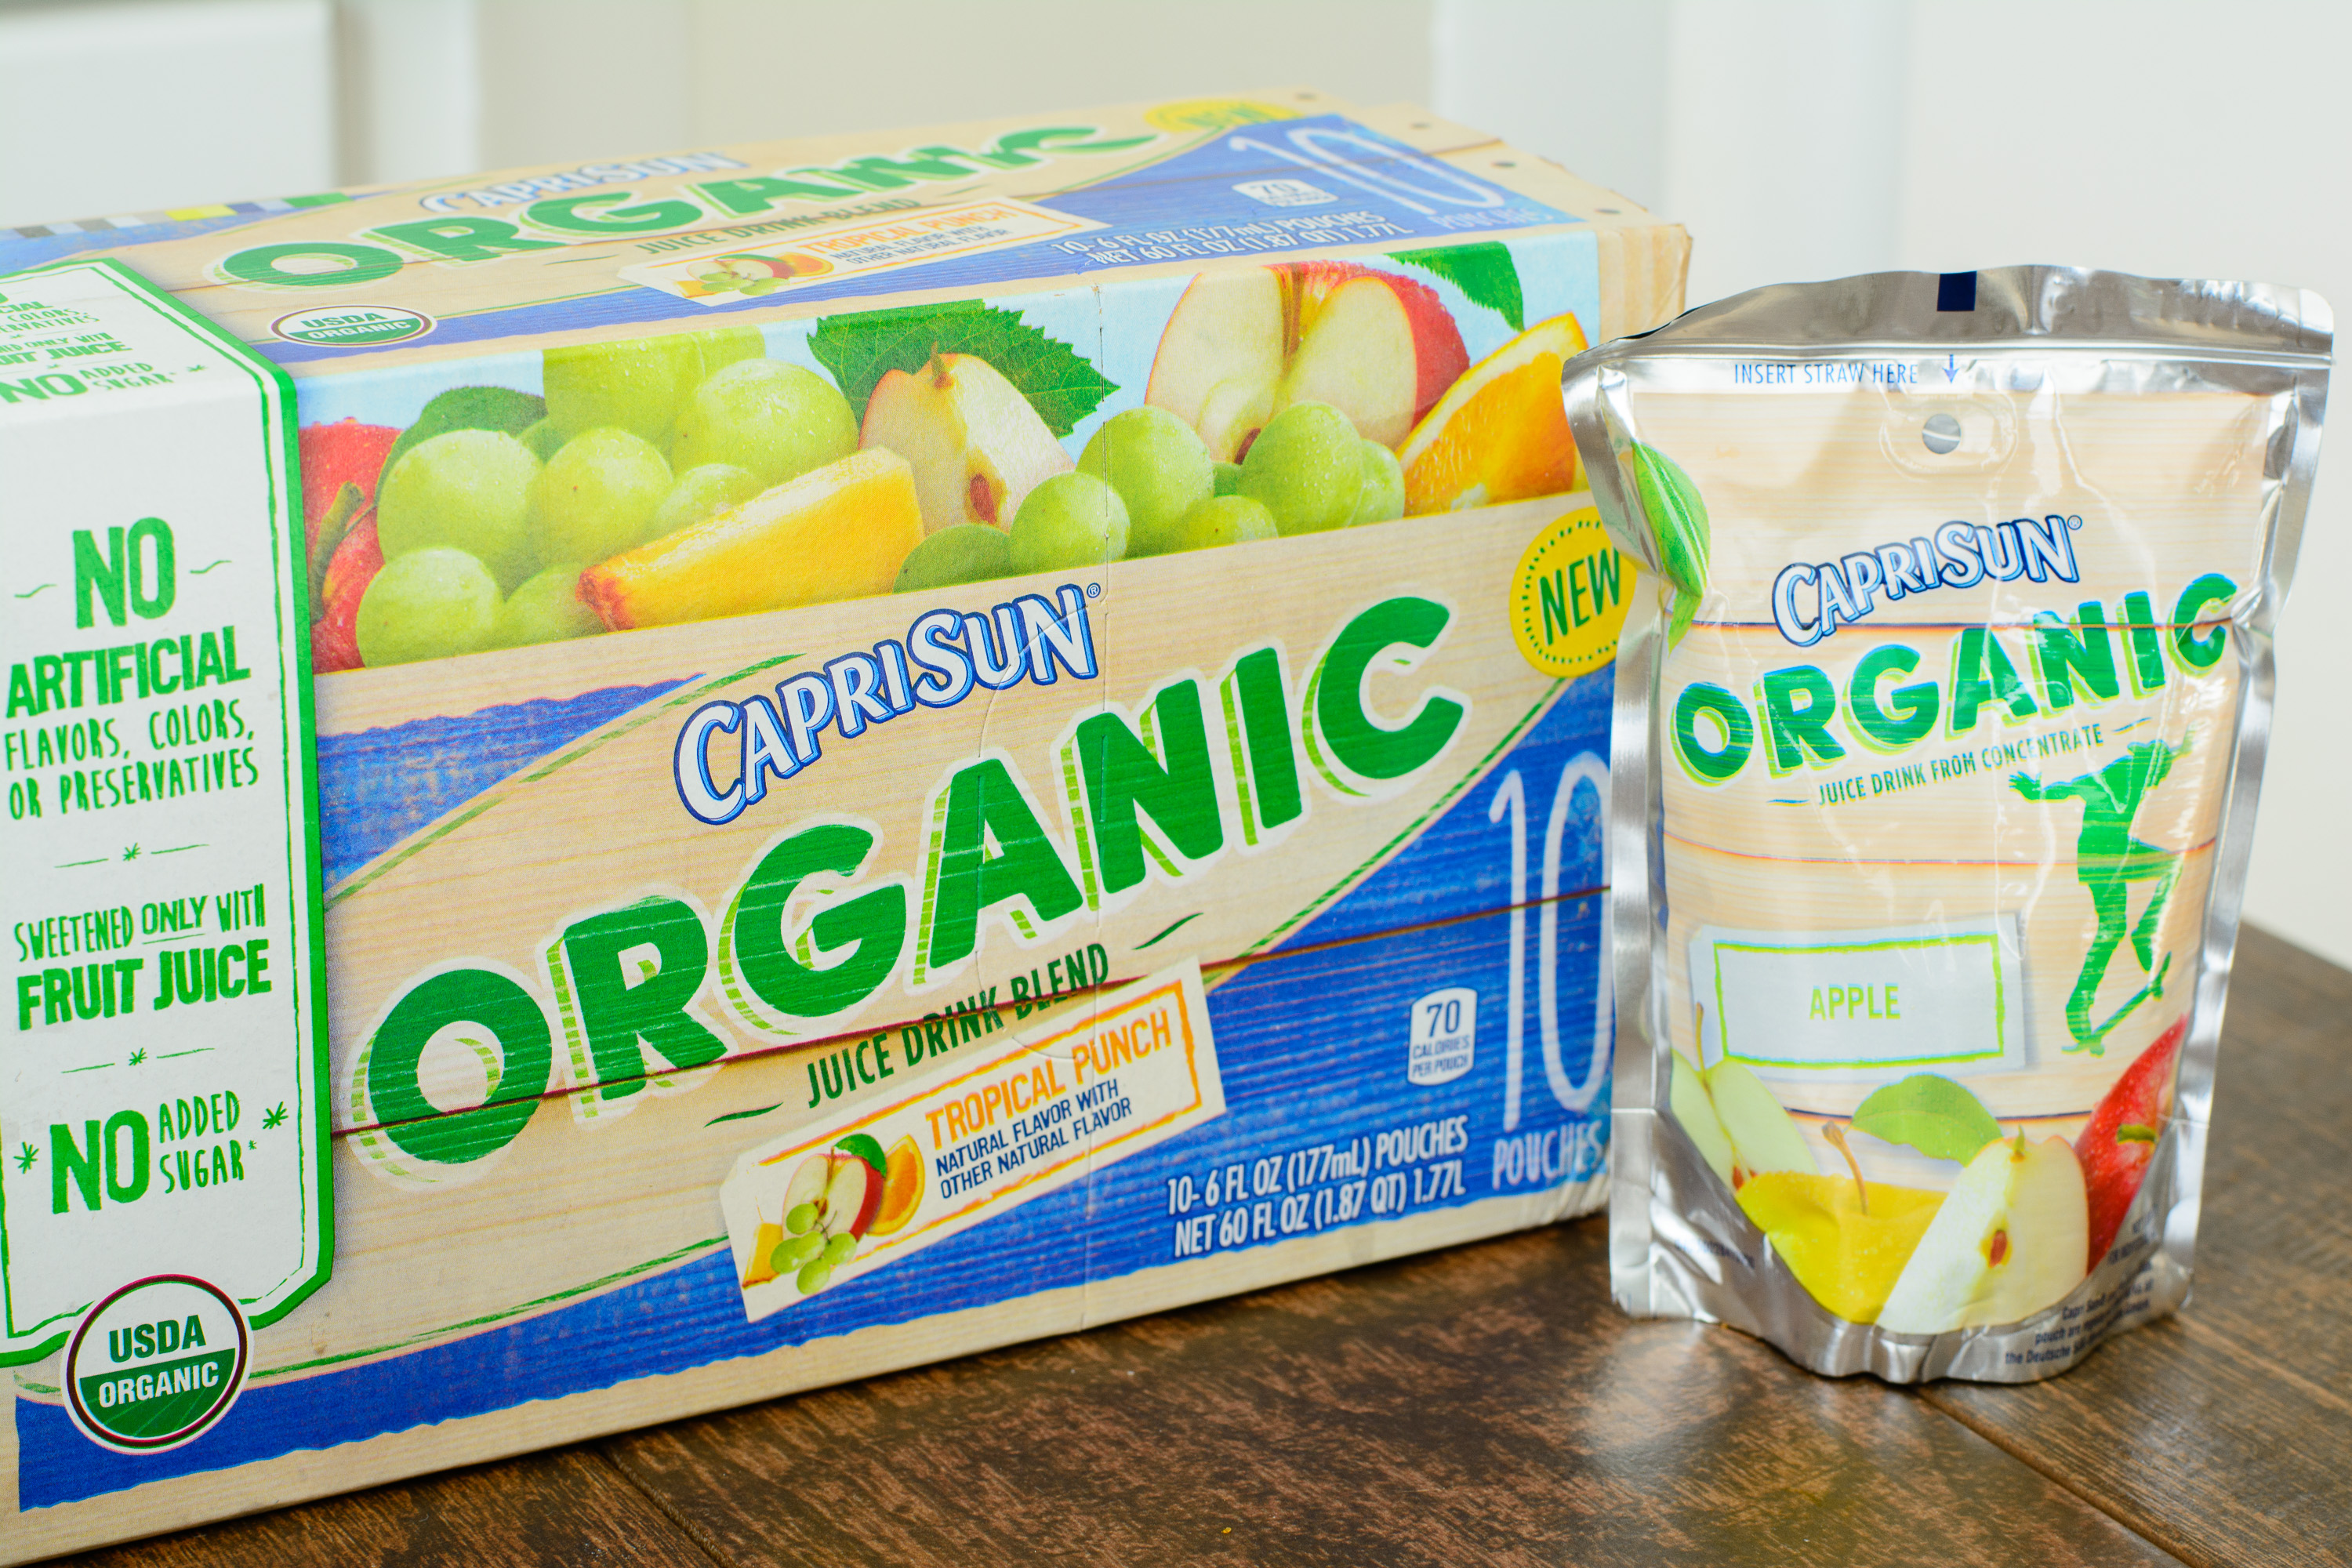
This is where the new Capri Sun Organic and these delicious frozen fruit and yogurt bites come into play. Easy? Yes! Balanced? Yes! Delicious? Double yes!
Frozen Fruit and Yogurt Bites:

1 cup granola
2 cups organic vanilla yogurt (I prefer whole milk yogurt)
1 cup diced strawberries (or fruit of choice, blueberries and mangos are also a great choice!)
Line a muffin tin with silicone or foil muffin liners
Scoop 1 tbsp of granola into each liner and press flat with your fingers
Scoop yogurt on top of the granola until the liner is ¾ of the way full
Place diced fruit on top
Freeze for at least 6 hours
Remove from liners and store in an airtight container in the freezer for up to 2 months
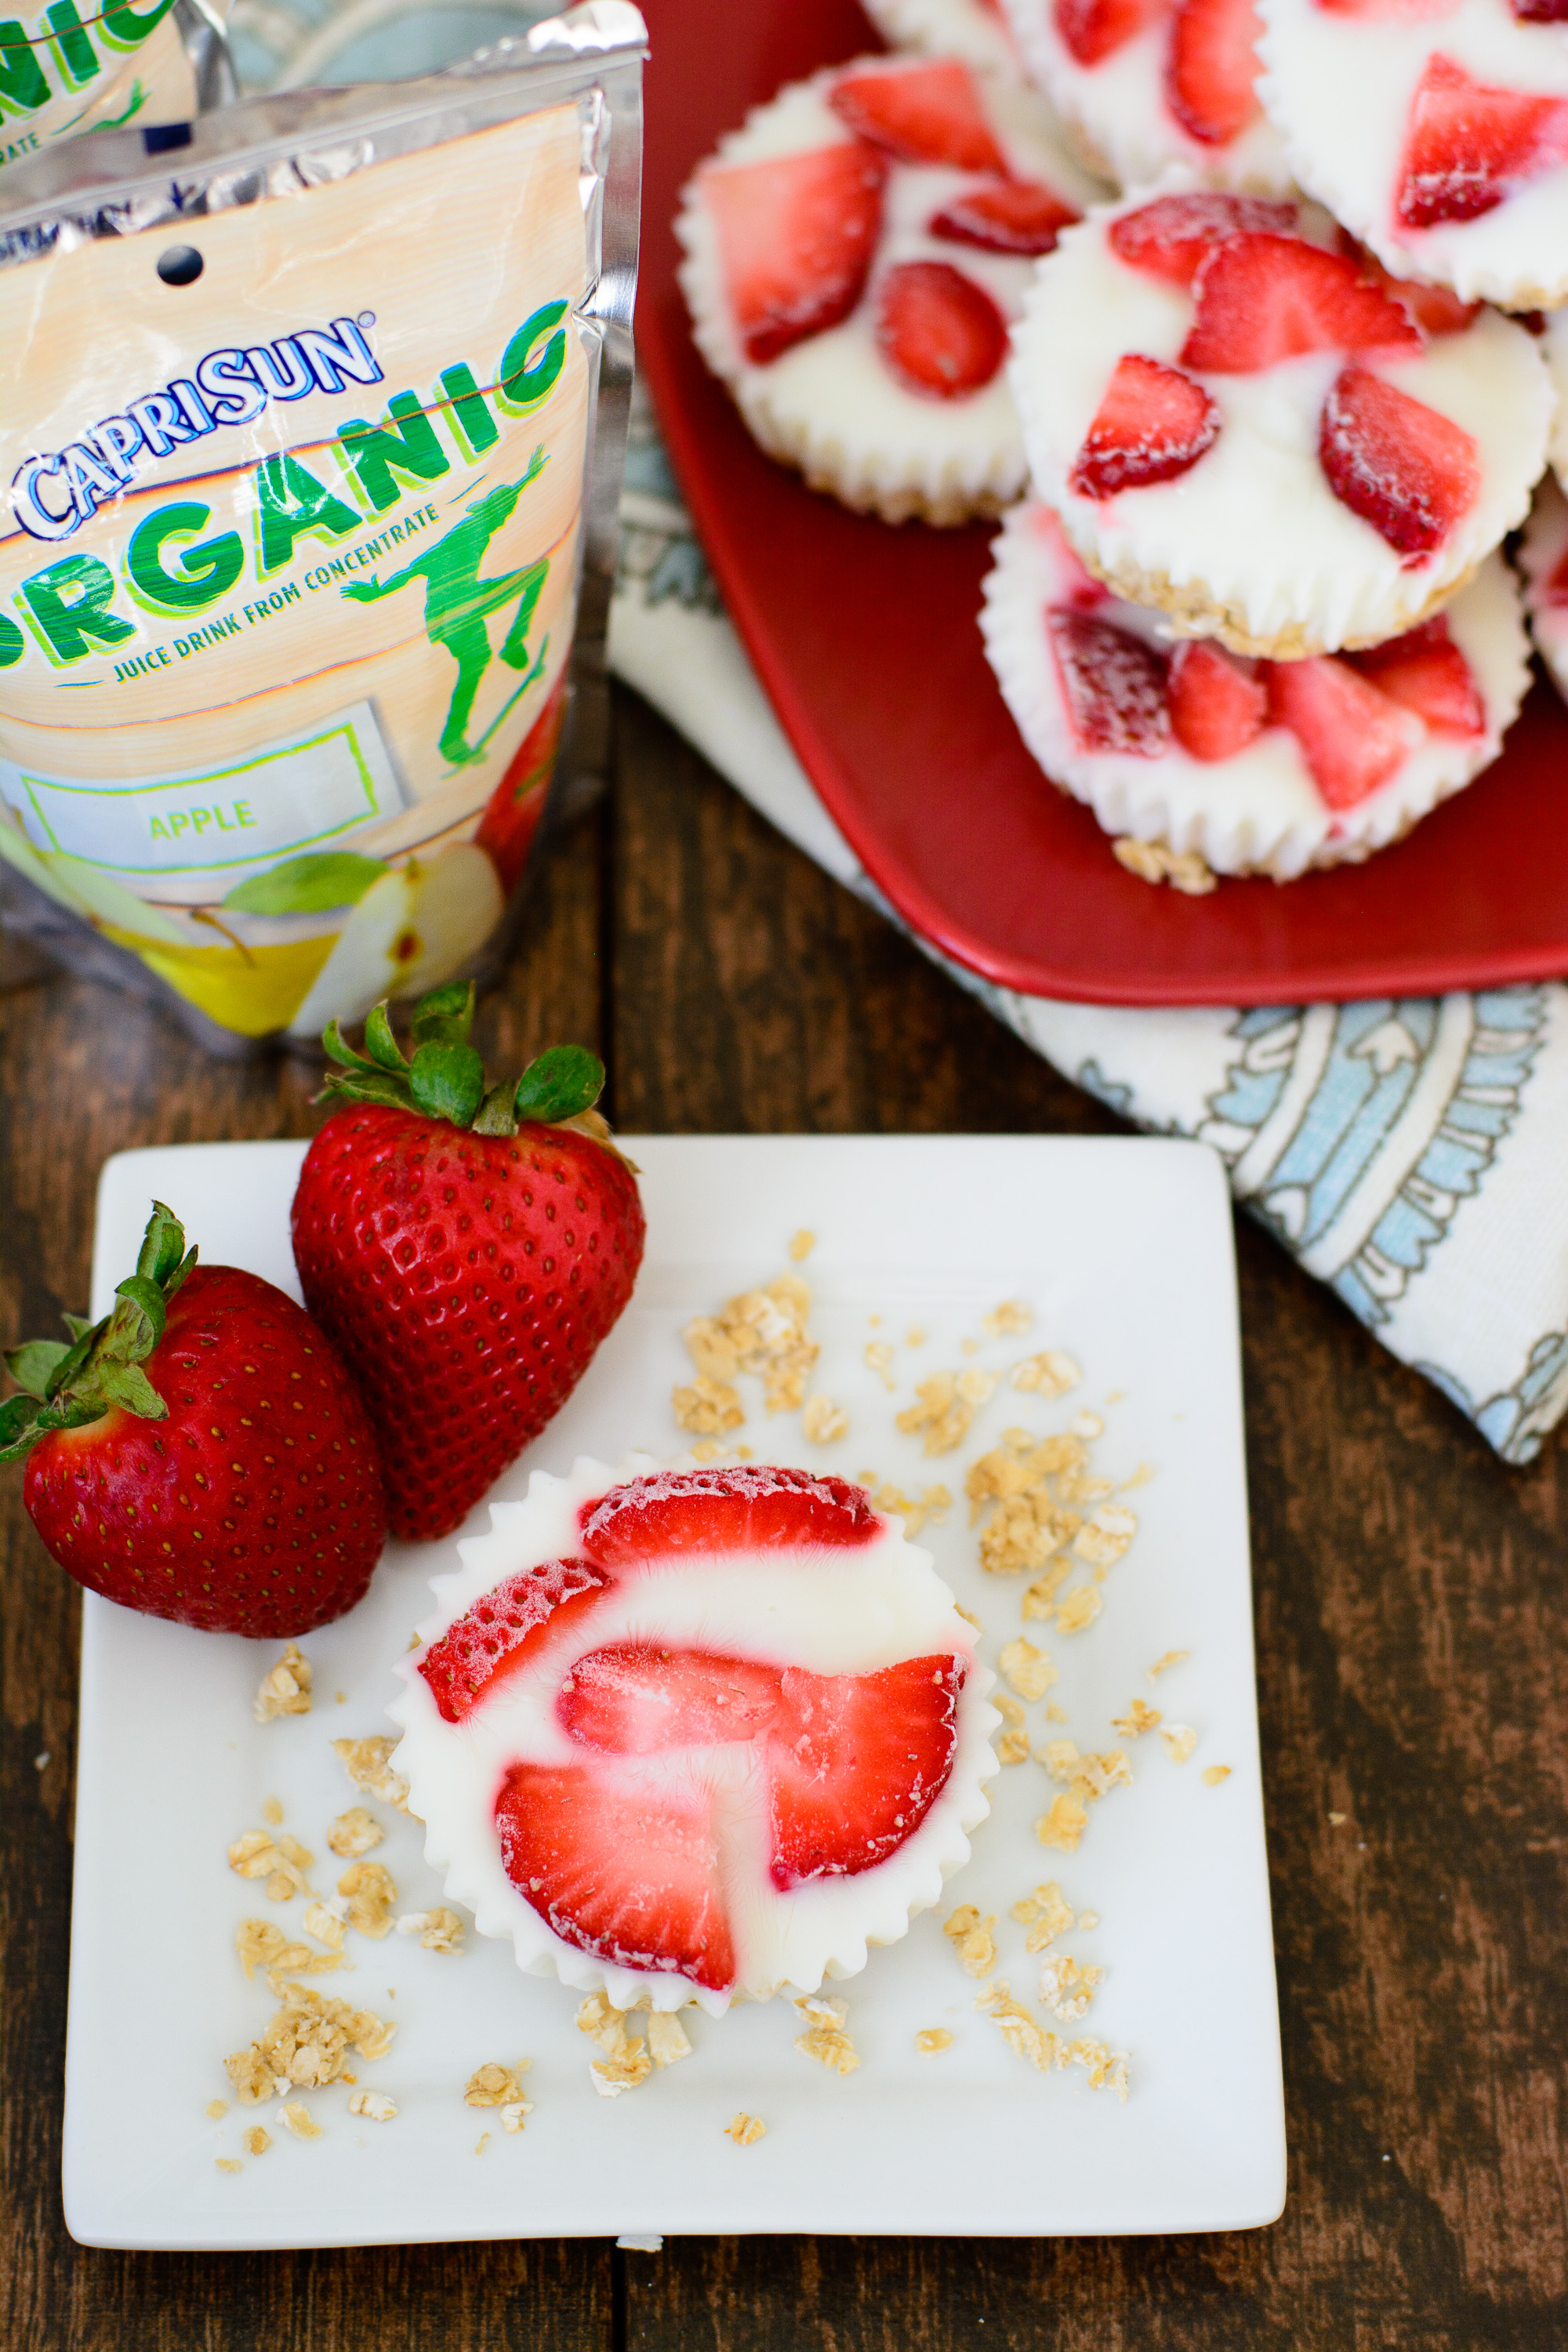
I love to pair these with my childhood favorite, Capri Sun Organic. What kids doesn’t love a pouch of Capri Sun Organic on a summer day? And the fact that they now make 4 organic flavors including, Fruit Punch, Tropical Punch, Apple and Grape that are sweetened with only fruit juice and have no added sugar makes this momma (and her kids) super happy!

I was selected for this opportunity as a member of Clever Girls and the content and opinions expressed here are all my own.


7 Comments