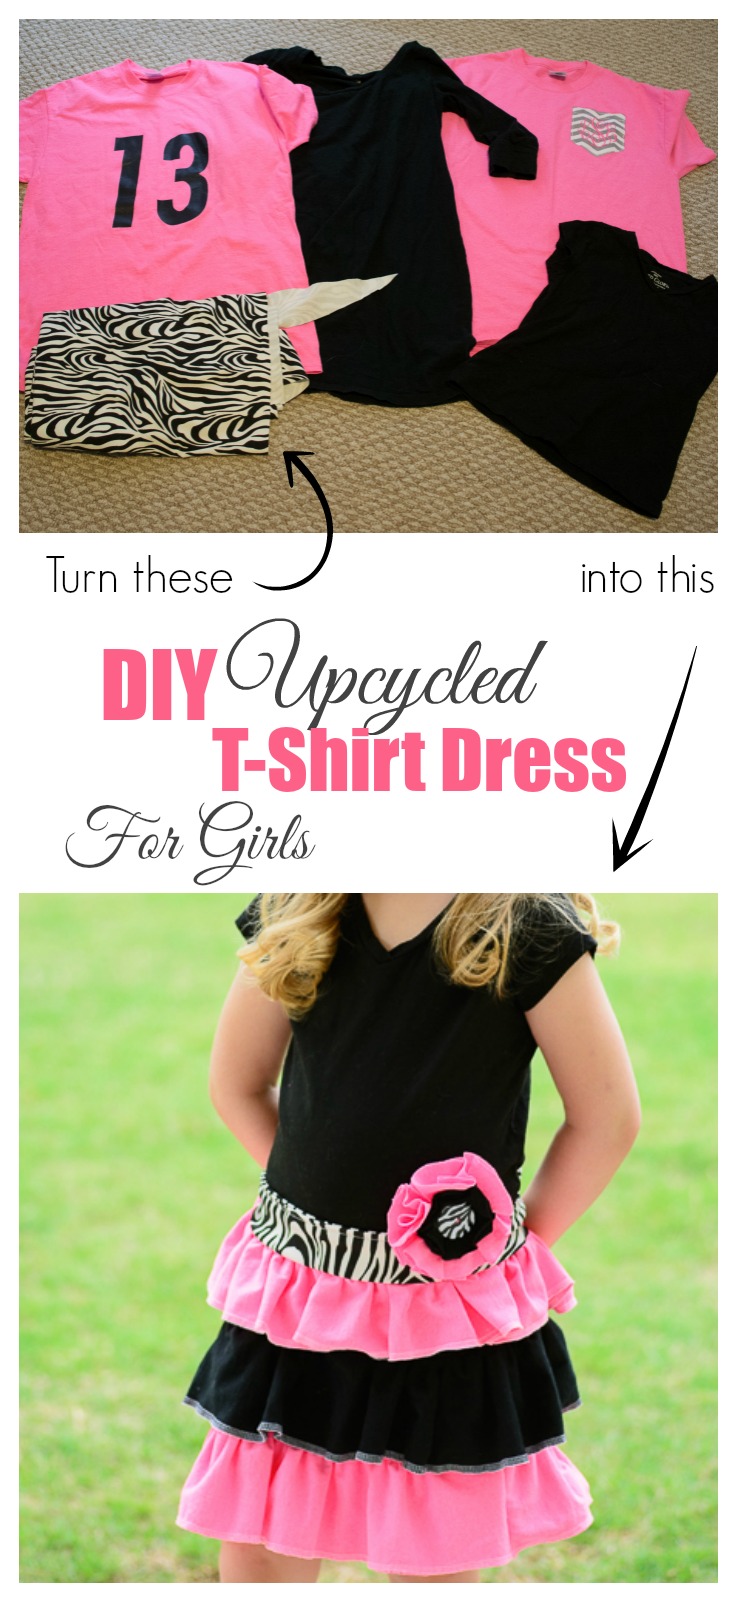
DIY Upcycled T-shirt Dress for Girls
In our family, clothes have to last a long, long time. It has never been in my budget to buy each kid a new wardrobe every season, so hand me downs are the norm. Because of this reason I’m incredibly picky about the detergent I use. These clothes have to last through 5 girls. I don’t have time for a detergent that can’t hold up it’s end of the bargain by leaving behind stains, fading colors and using harsh chemicals that weaken the fibers in the fabric.
This is where method laundry detergent comes in.

method has my back when it comes to effective cleaning that will keep my kids clothes looking their best year after year. Naturally derived cleaning power has been proven to remove tough dirt + stains while keep colors bright and whites white. It even is effective in cold water which saves you money and the planets valuable resources. Plus it has a biodegradable and hypoallergenic formula. Score! I even have a coupon for you for $3 off a bottle of method. Use the code THREEFORME for $3 off your online purchase.
First problem solved. Now onto the next problem with hand me downs…. I have 5 girls each with very unique styles and taste. My oldest is a complete tomboy, happy in an old t-shirt and a pair of jeans. My 8 and 4 year old are quite the opposite. They like the finer things in life and refuse to wear anything that isn’t stylish, glamorous and over the top girly. Do you see my dilemma here?
I had to find a way to take my oldest daughter’s old t-shirts and turn them into diva worthy outfits. Necessity is the mother of invention, so I have come up with several ways to re-purpose jeans and t-shirts into dresses and fashionable tops for my little girly girls. Today I’m going to show you one of my favorite and easiest ways to re-purpose a couple of t-shirts into a fabulous dress. If you are looking for some fashion hints and tips make sure you visit the ASOS by Method site for some trendy fashion info.
I started with 3 of my daughters old t-shirts. She has a bunch of then from different walks and runs that we have done, t-shirts that she will never wear again. I also had a small t-shirt that one of my little girls had gotten as a gift, but she never wore it because it was “too plain” (see? divas!) and some left over zebra print fabric from another project I had done.
Step 1:
Measure for size
The skirt is made of tiers with ruffles and connector pieces. Measuring is pretty simple…start with waist size.
For the skirt width measure all the way around the waist (or wherever you want the skirt part to hang)
For the connector pieces: multiply the waist size by 1.5
For the ruffle pieces: multiply the connector length by 2
In this case, my daughter’s waist was 21 inches so I made the connector pieces 31.5 inches and the ruffle pieces 63 inches. Since I was not working with standard fabric from the fabric store, I had to sew a few pieces of the shirt together to make the length I needed for each piece.
For the length
Decide how long you want your skirt to be and measure from your waist (or wherever the skirt part of the dress hangs) down to the desired length and then do some approximate math by deciding how many ruffles you want and how wide you want them to be and then divide that up by how long you want the skirt to be. I made 3 layers of ruffles that are 4.5 inches wide.
Step 2
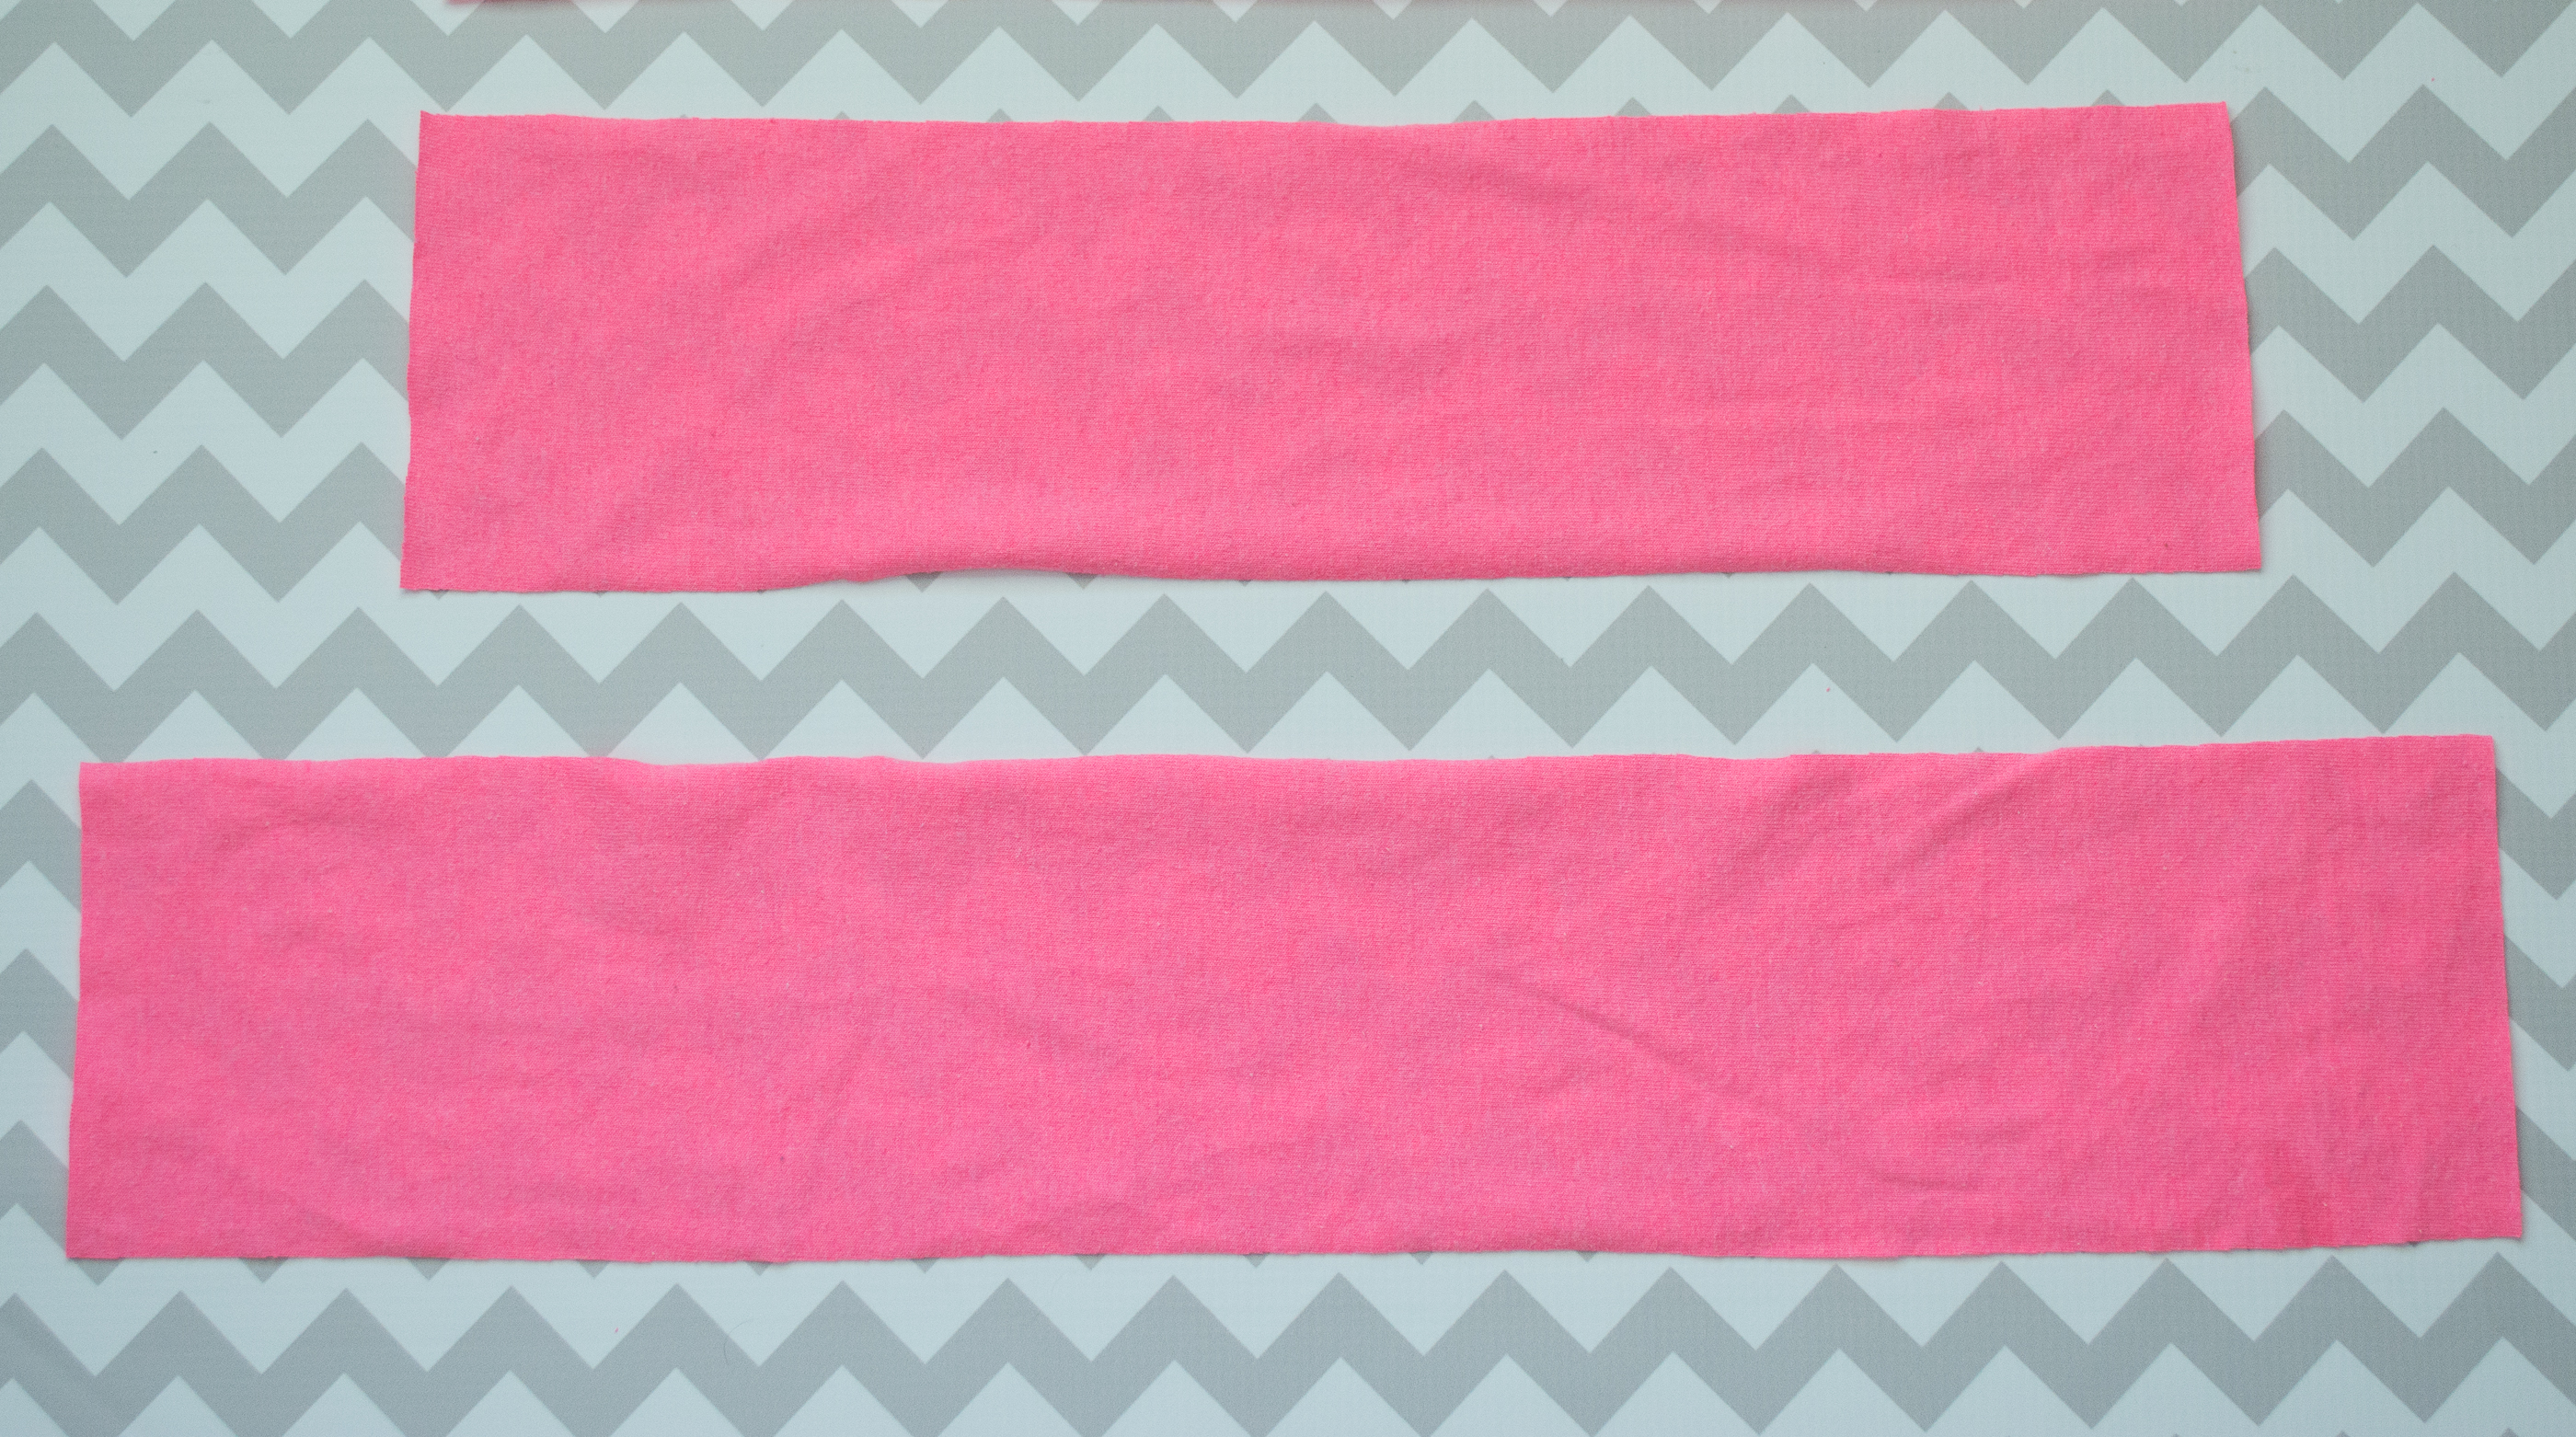
Cut the strips.
You need 1 connector and 1 ruffle per tier (you do not need to make a connector for the top tier as we will be connecting it to a t-shirt)
Like I said before, since I wasn’t using traditional fabric, I had to sew some of the pieces of the t-shirt together to get the length I needed.
I sewed these pieces together for the ruffle
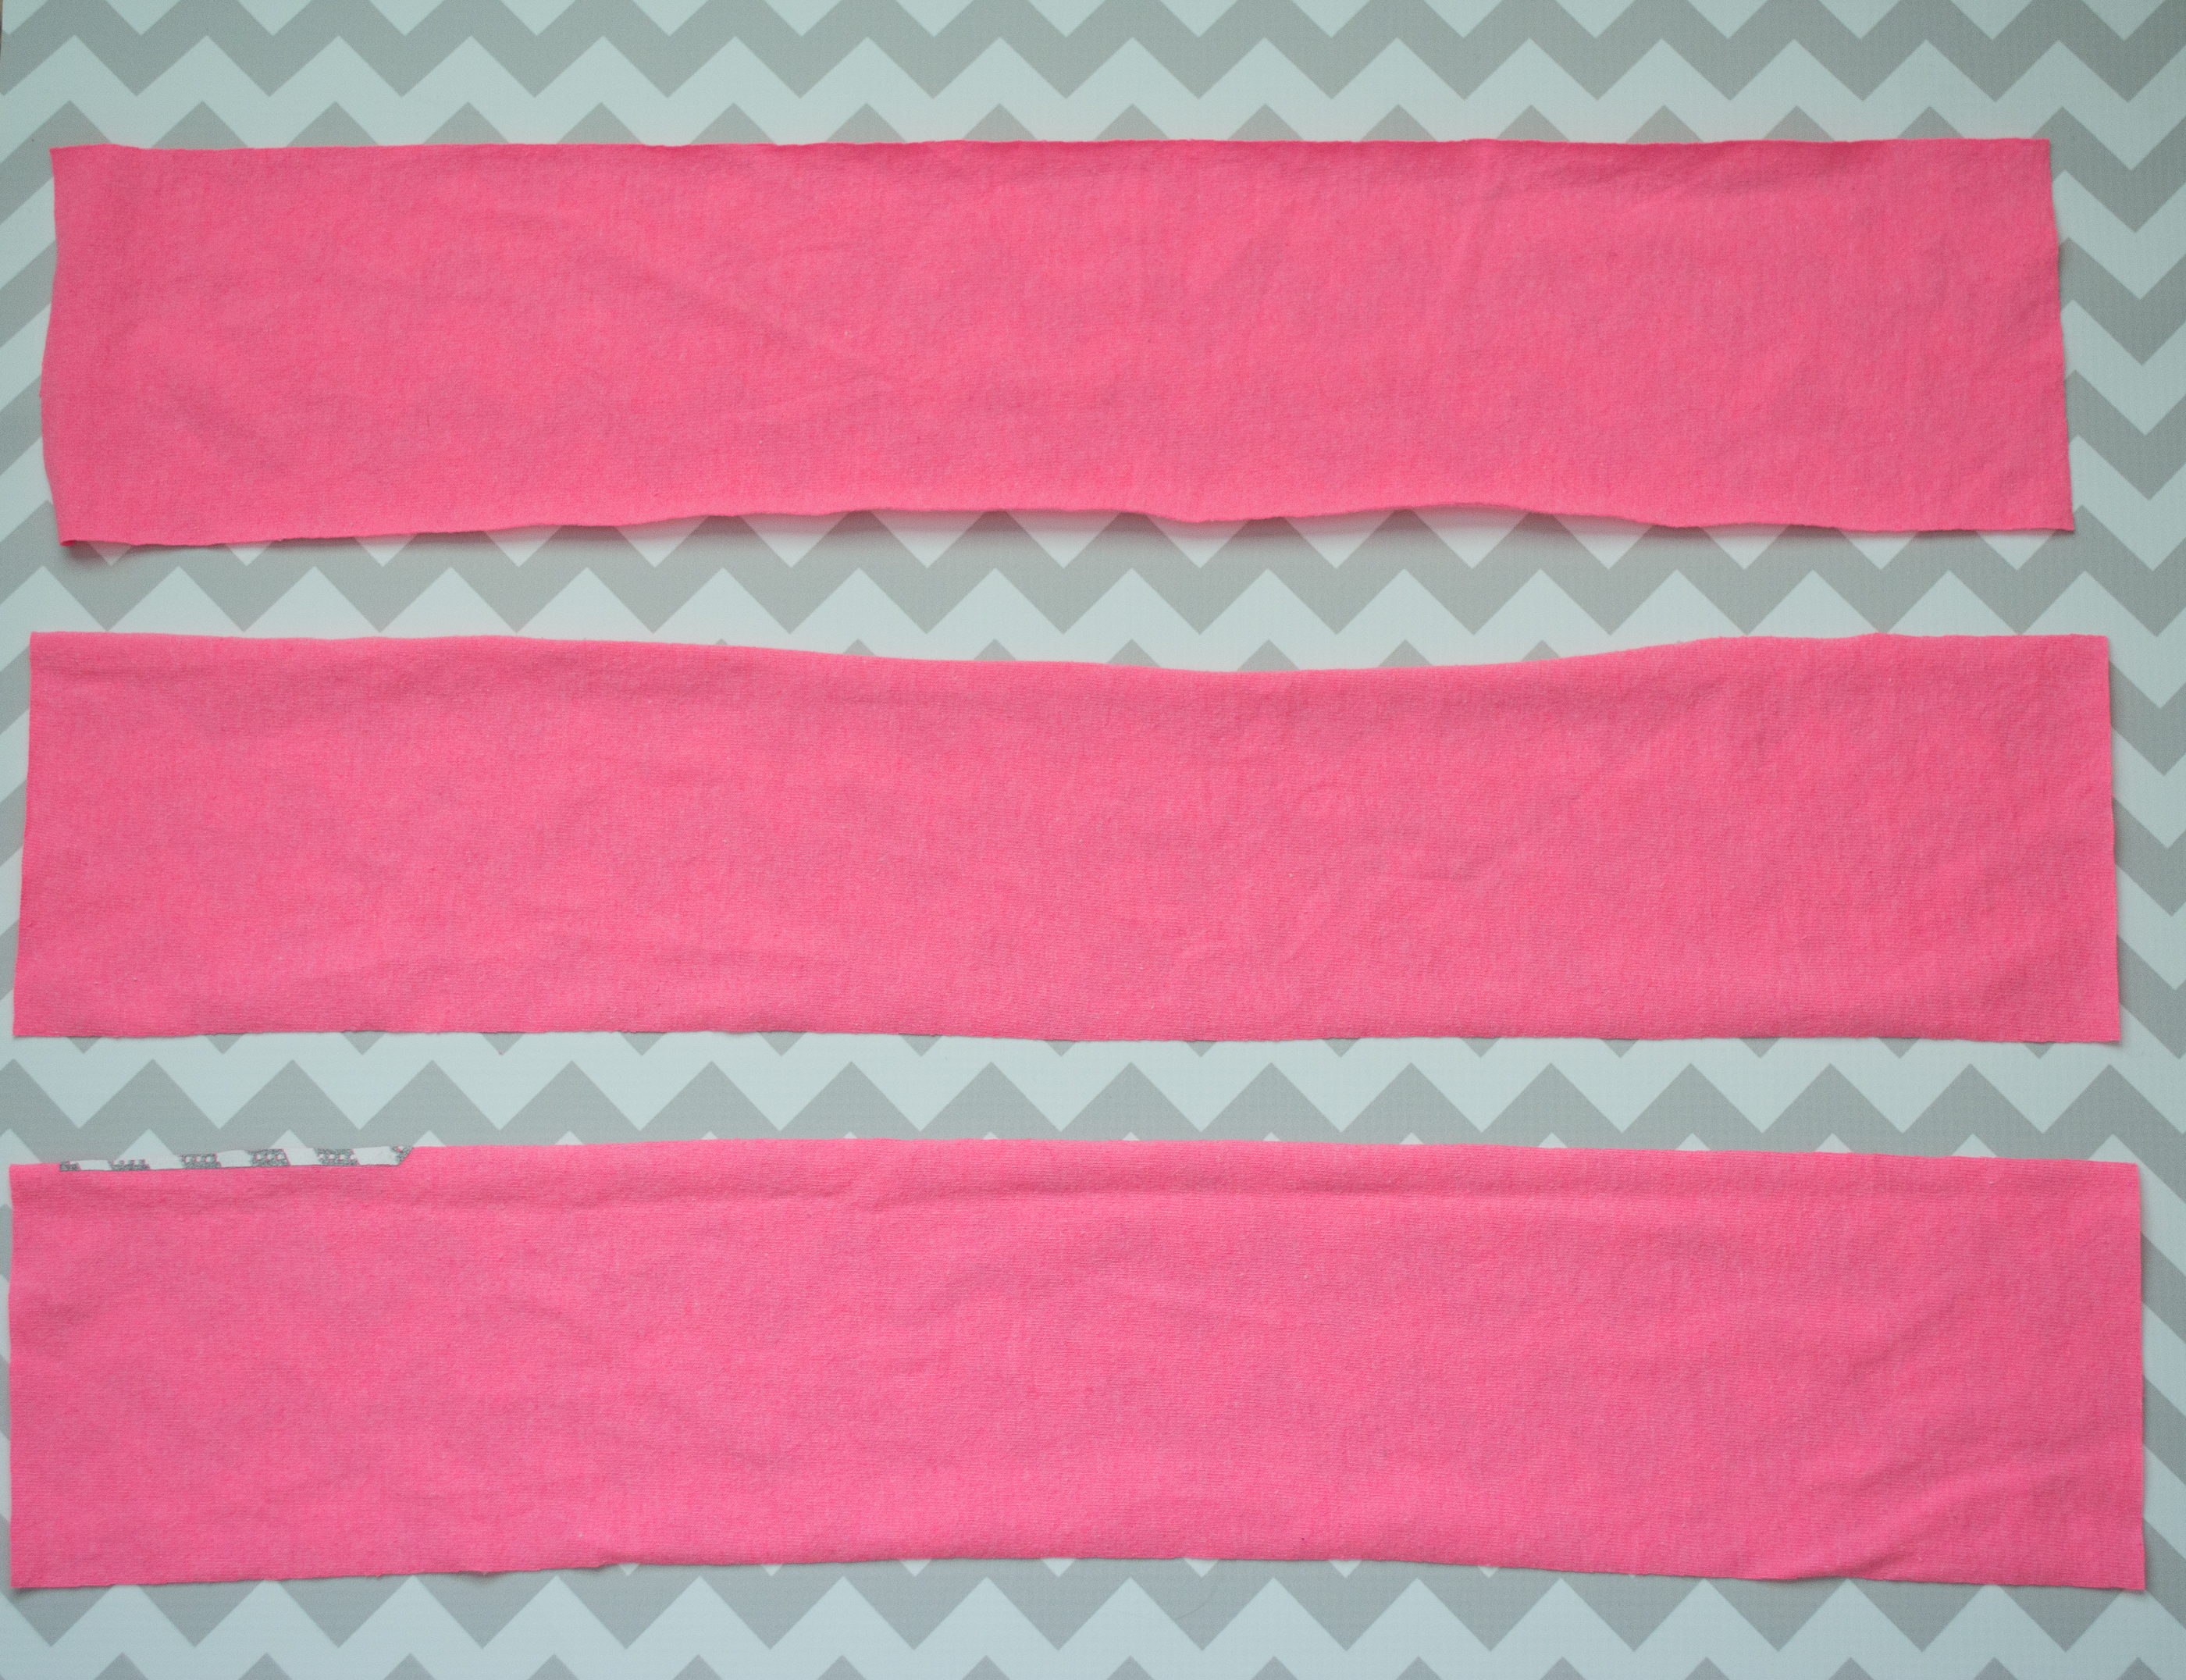
And these for the connector
Step 3
Sew connector pieces together
When you’re all done cutting your strips (and sewing then together is needed), fold each connector piece in half with right sides of the fabric together and sew them (using a 1/2 inch seam allowance). You can then serge the raw seam edges or leave them as is.
Step 4
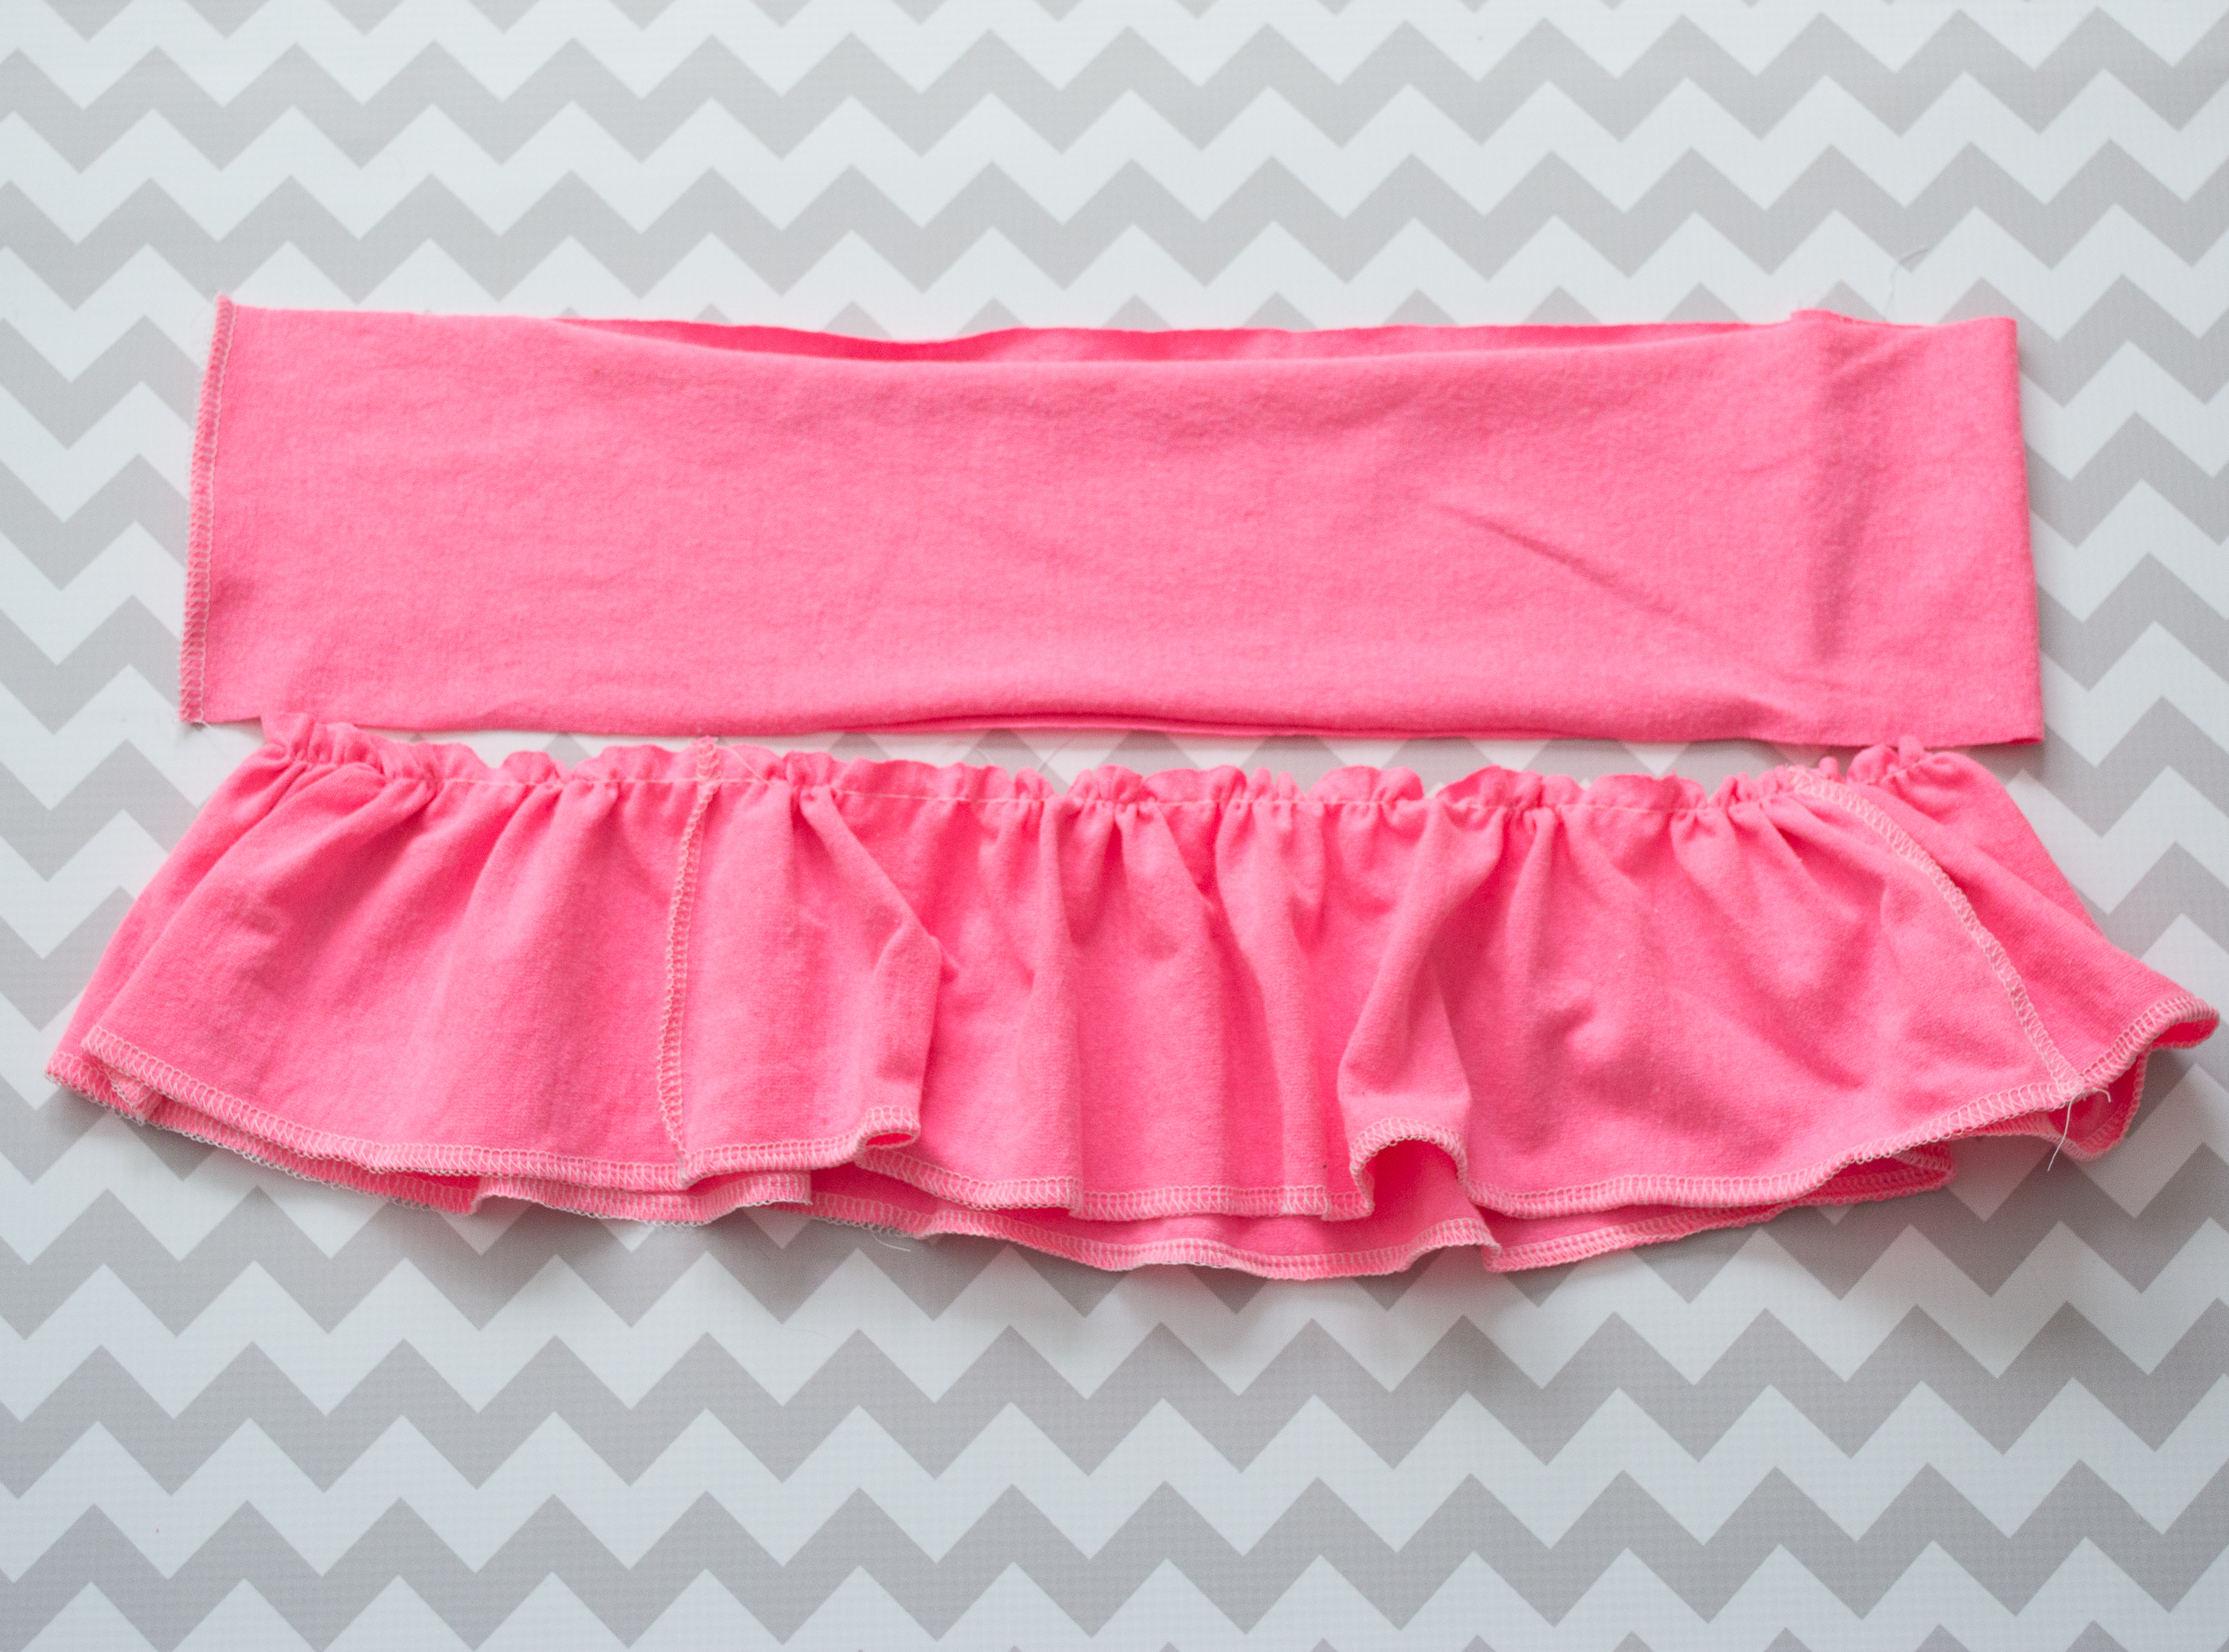
Create the ruffles
First you need to decide how you want to hem them. If you have a serger, the easiest thing to do is serge the raw edges. If you don’t have a serger, you can simply fold the bottom edge over 1/4 inch, press and stitch to create an clean hem.
Next gather the other side of the strips to create ruffles. You want the gathered ruffle to be the same length as the connector piece. I like to cheat with my gather. Simply set the stitch length on the longest length your machine has and the tension at the highest setting. It is perfect and you may need to make some adjustments, but it’s the quickest way I have found to gather 🙂
When your ruffle lines up with the connector length, fold the ruffle in half (with right sides of the fabric together) and sew together.
Step 5
Create the bottom tier
With right sides of the fabric together, place the ruffle piece inside the connector piece. Pin both pieces together.

Sew or serge the pieces together with a 1/2 inch seam allowance.
Using a 1/2 inch seam allowance, sew the two pieces together. It should look like this when you are done:

Step 6
Connect the second tier
Place the ruffle over the previous connector piece, with the right side of the fabric facing out.
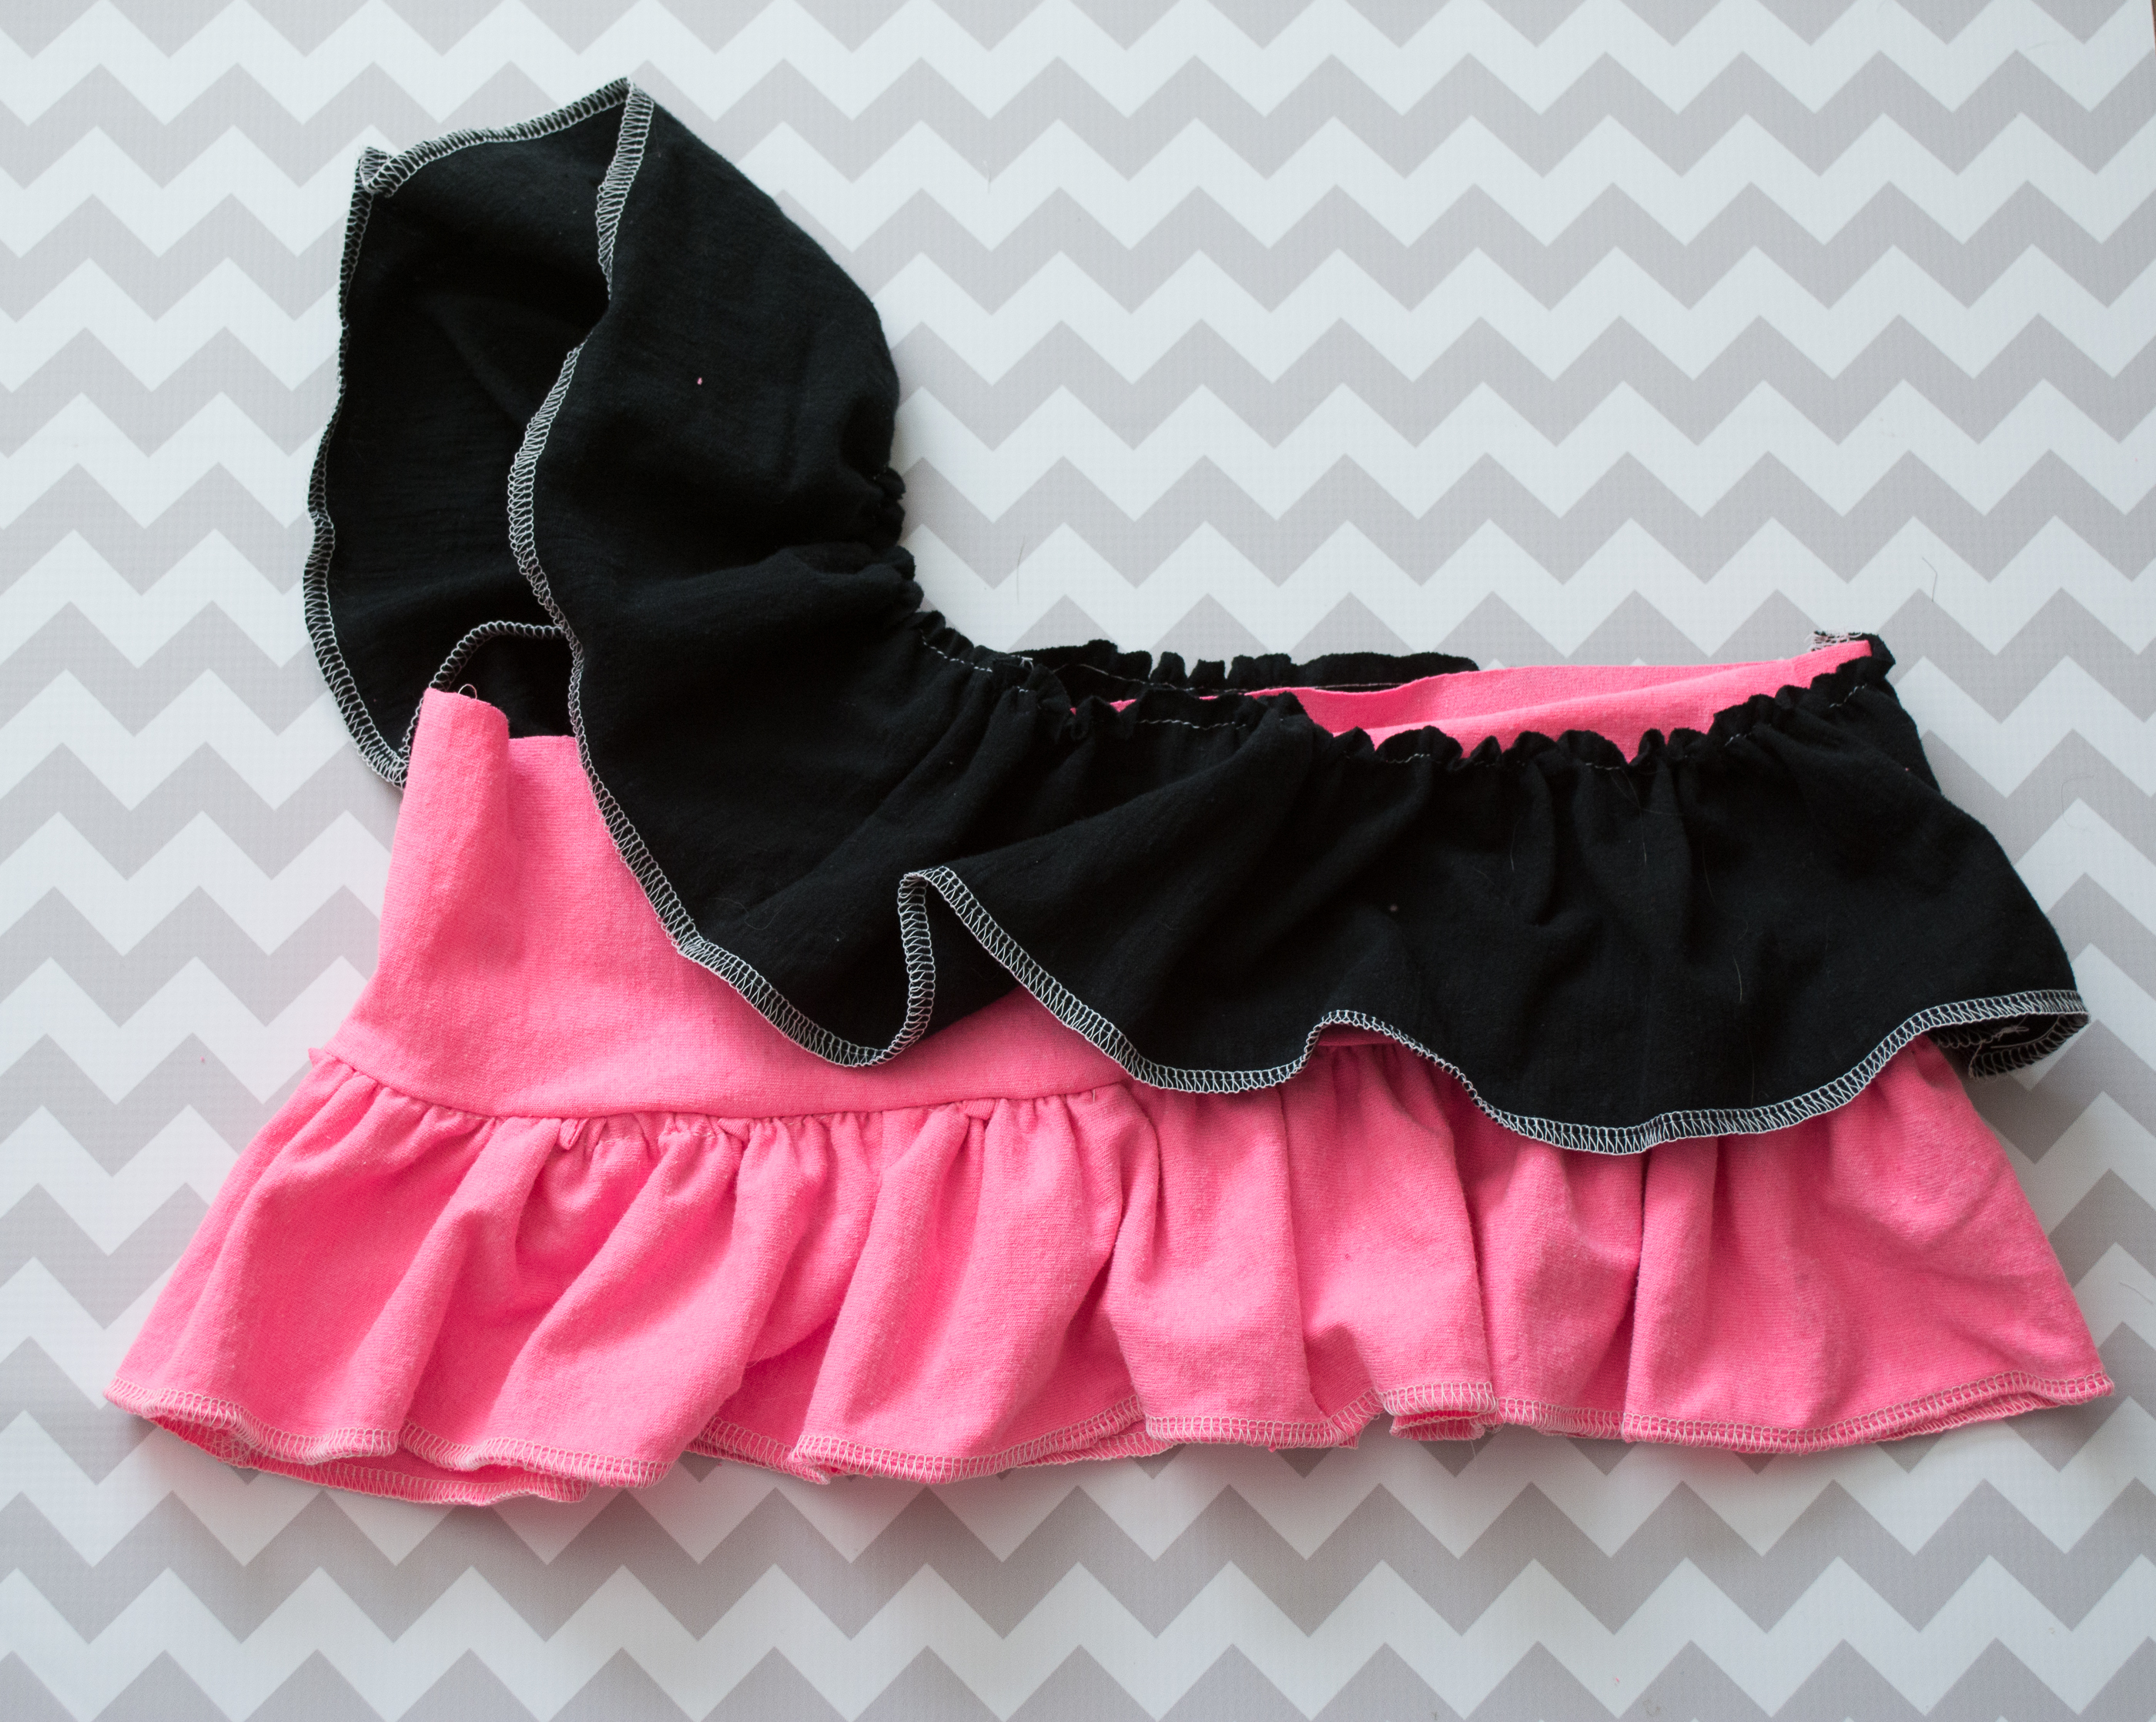
Next, place the next connector piece over that with the right side of the fabric facing in, pin in place.
Using a 1/2 inch seam allowance, sew the two pieces together. It should look like this when you are done:

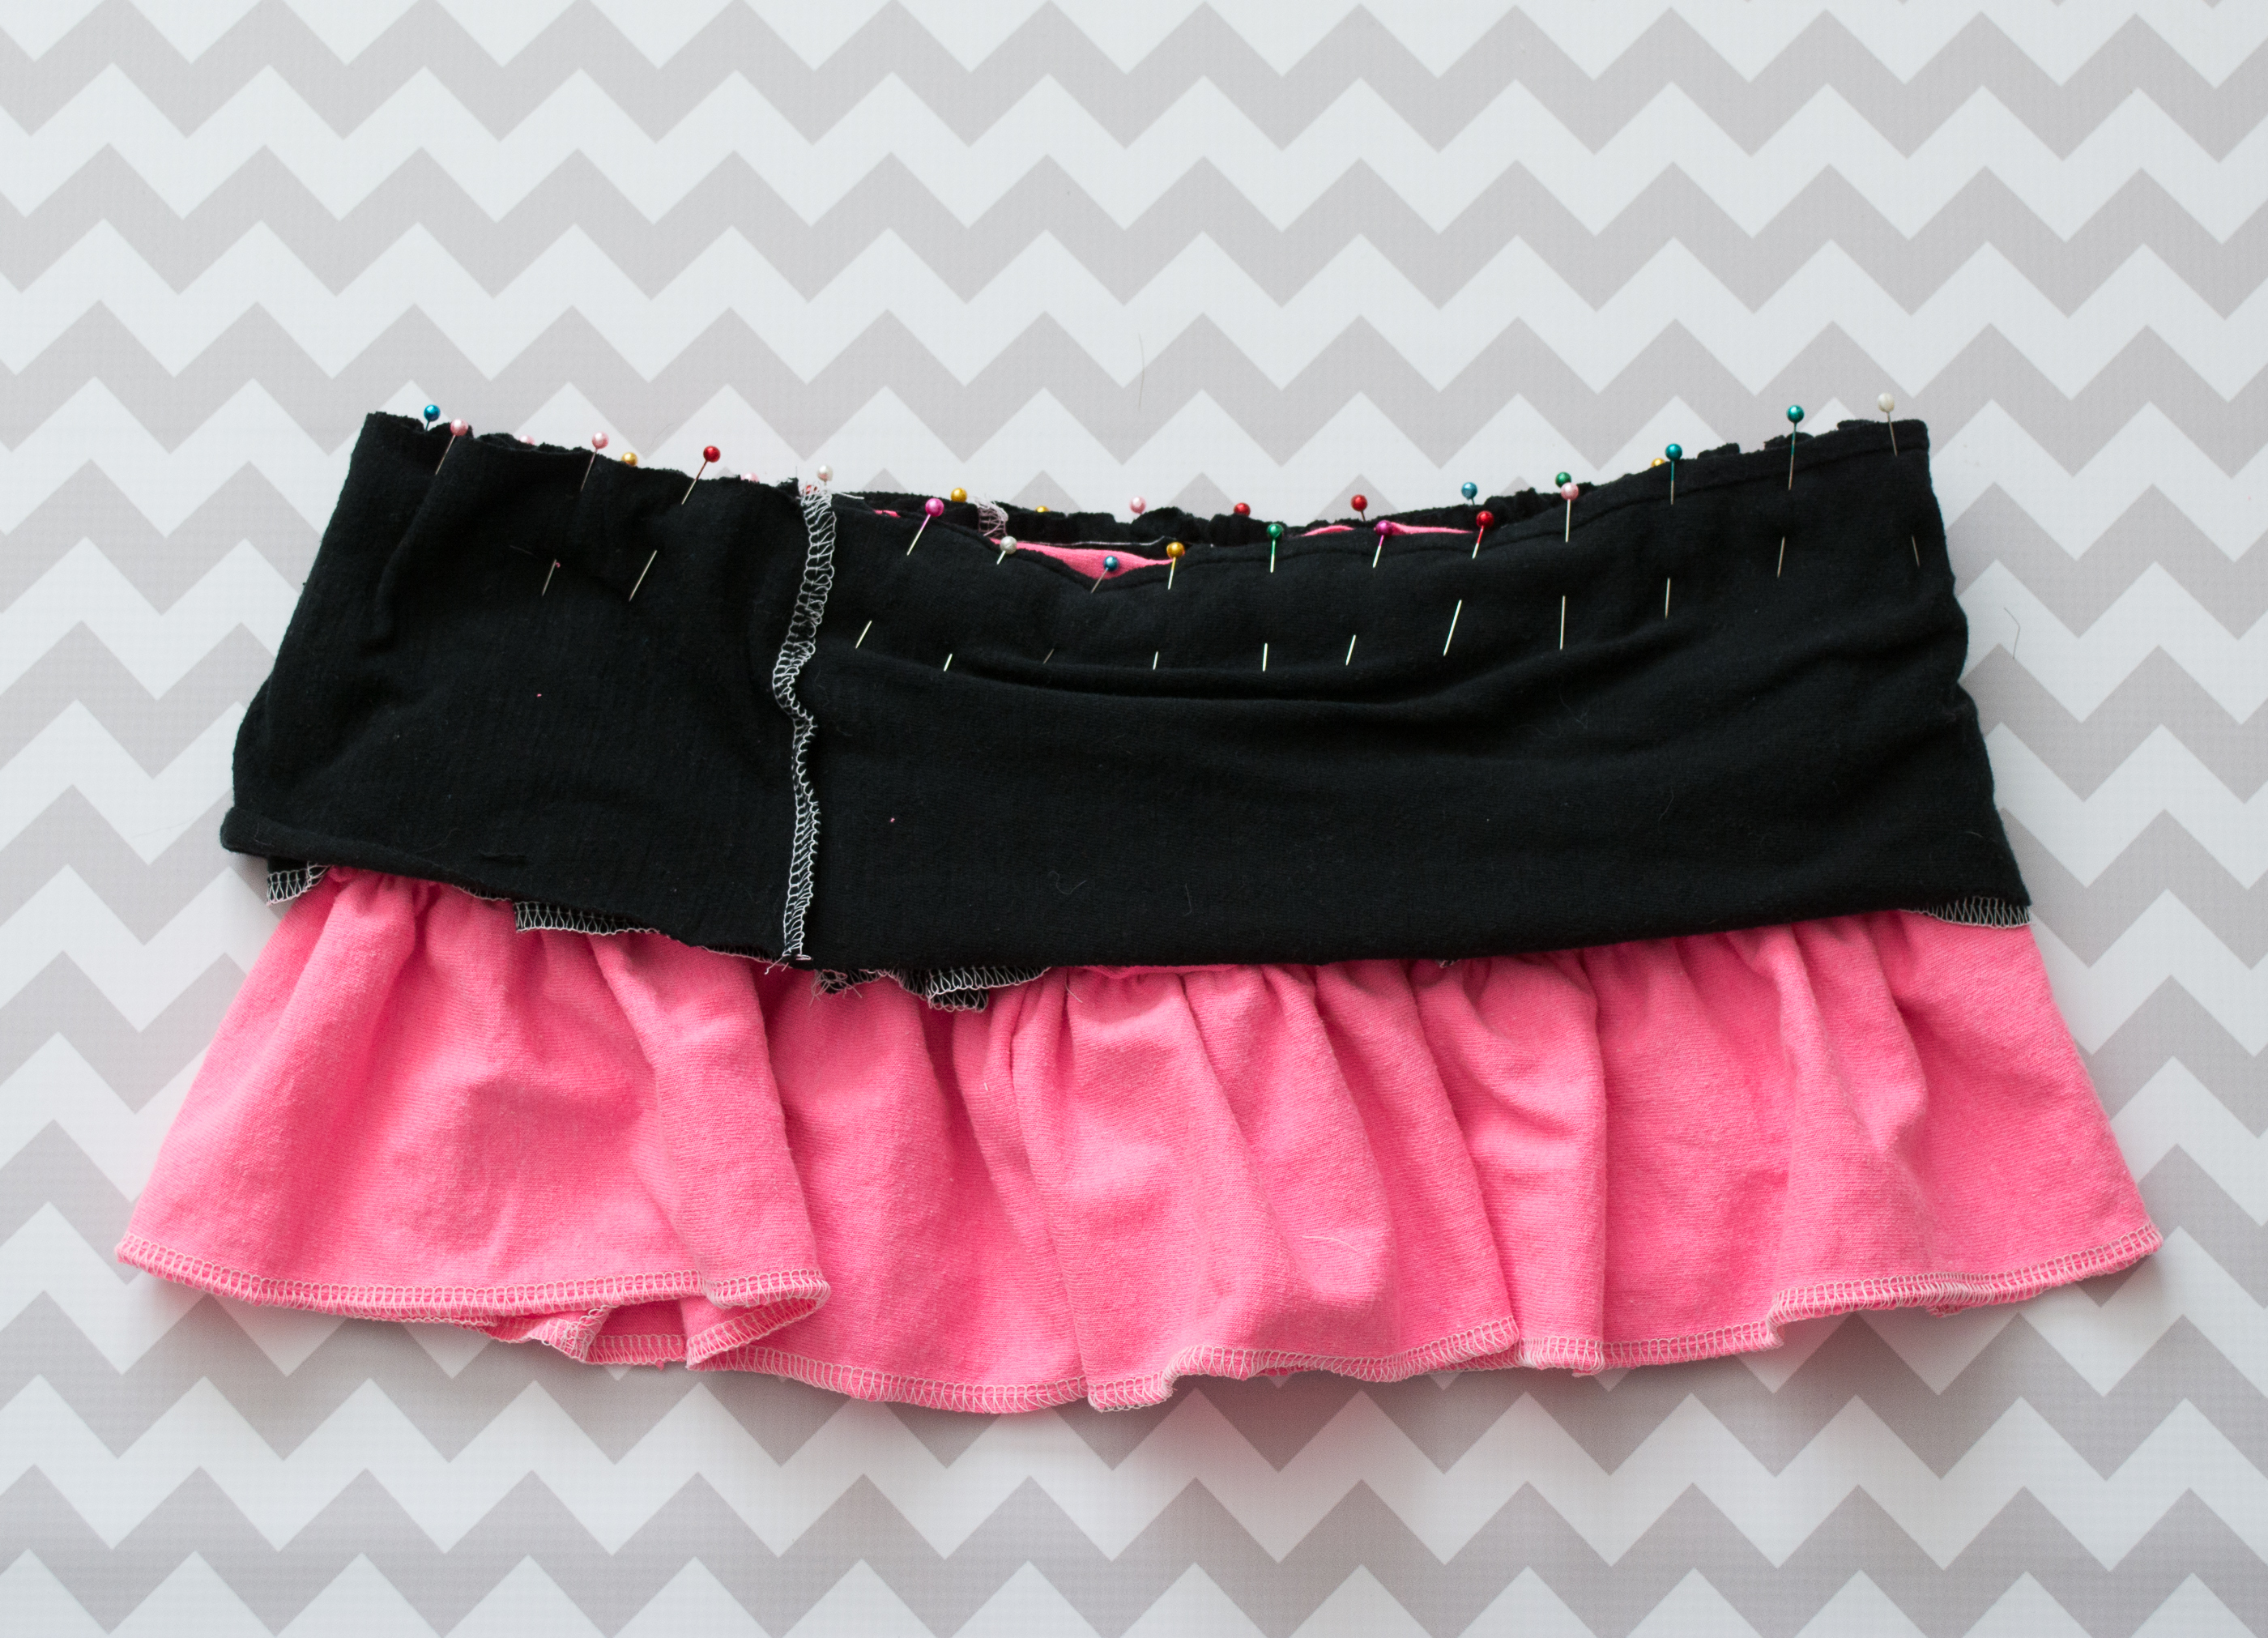
Step 7
Connect the shirt to the skirt
Place the ruffle piece over the connector piece like we did in step 6. Next place the t-shirt over that with the right side of the fabric facing in, pin in place.
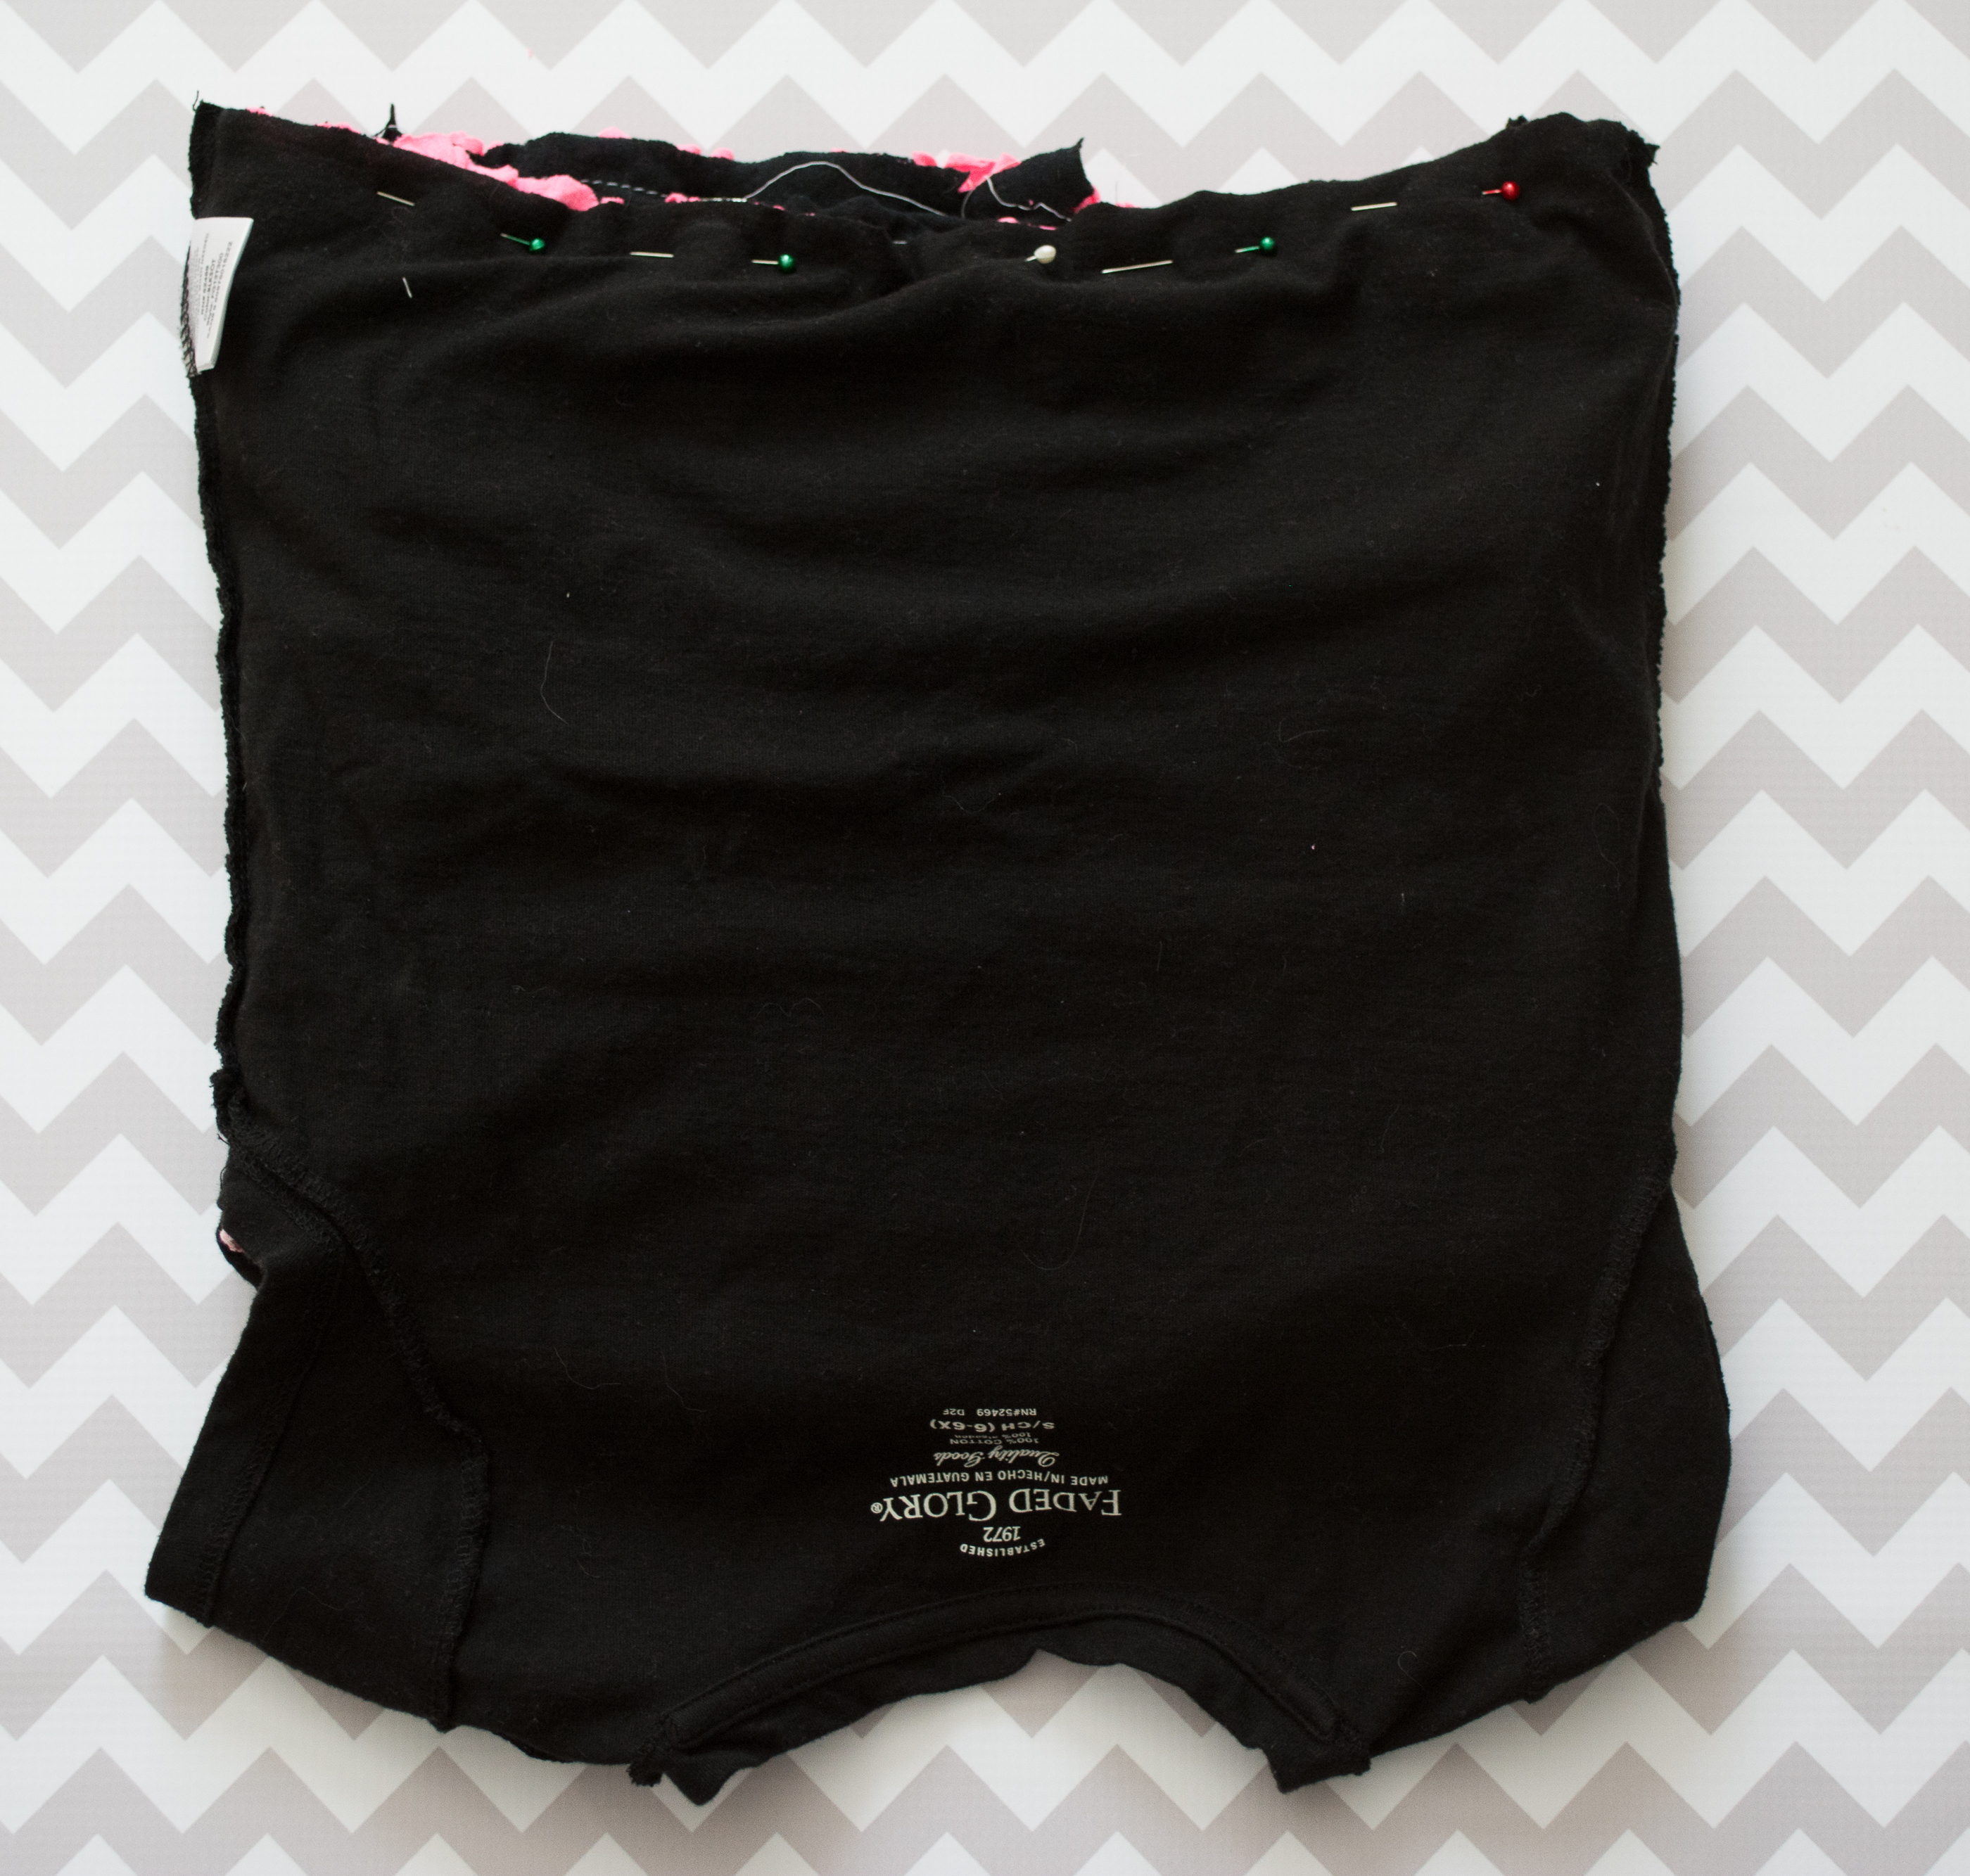
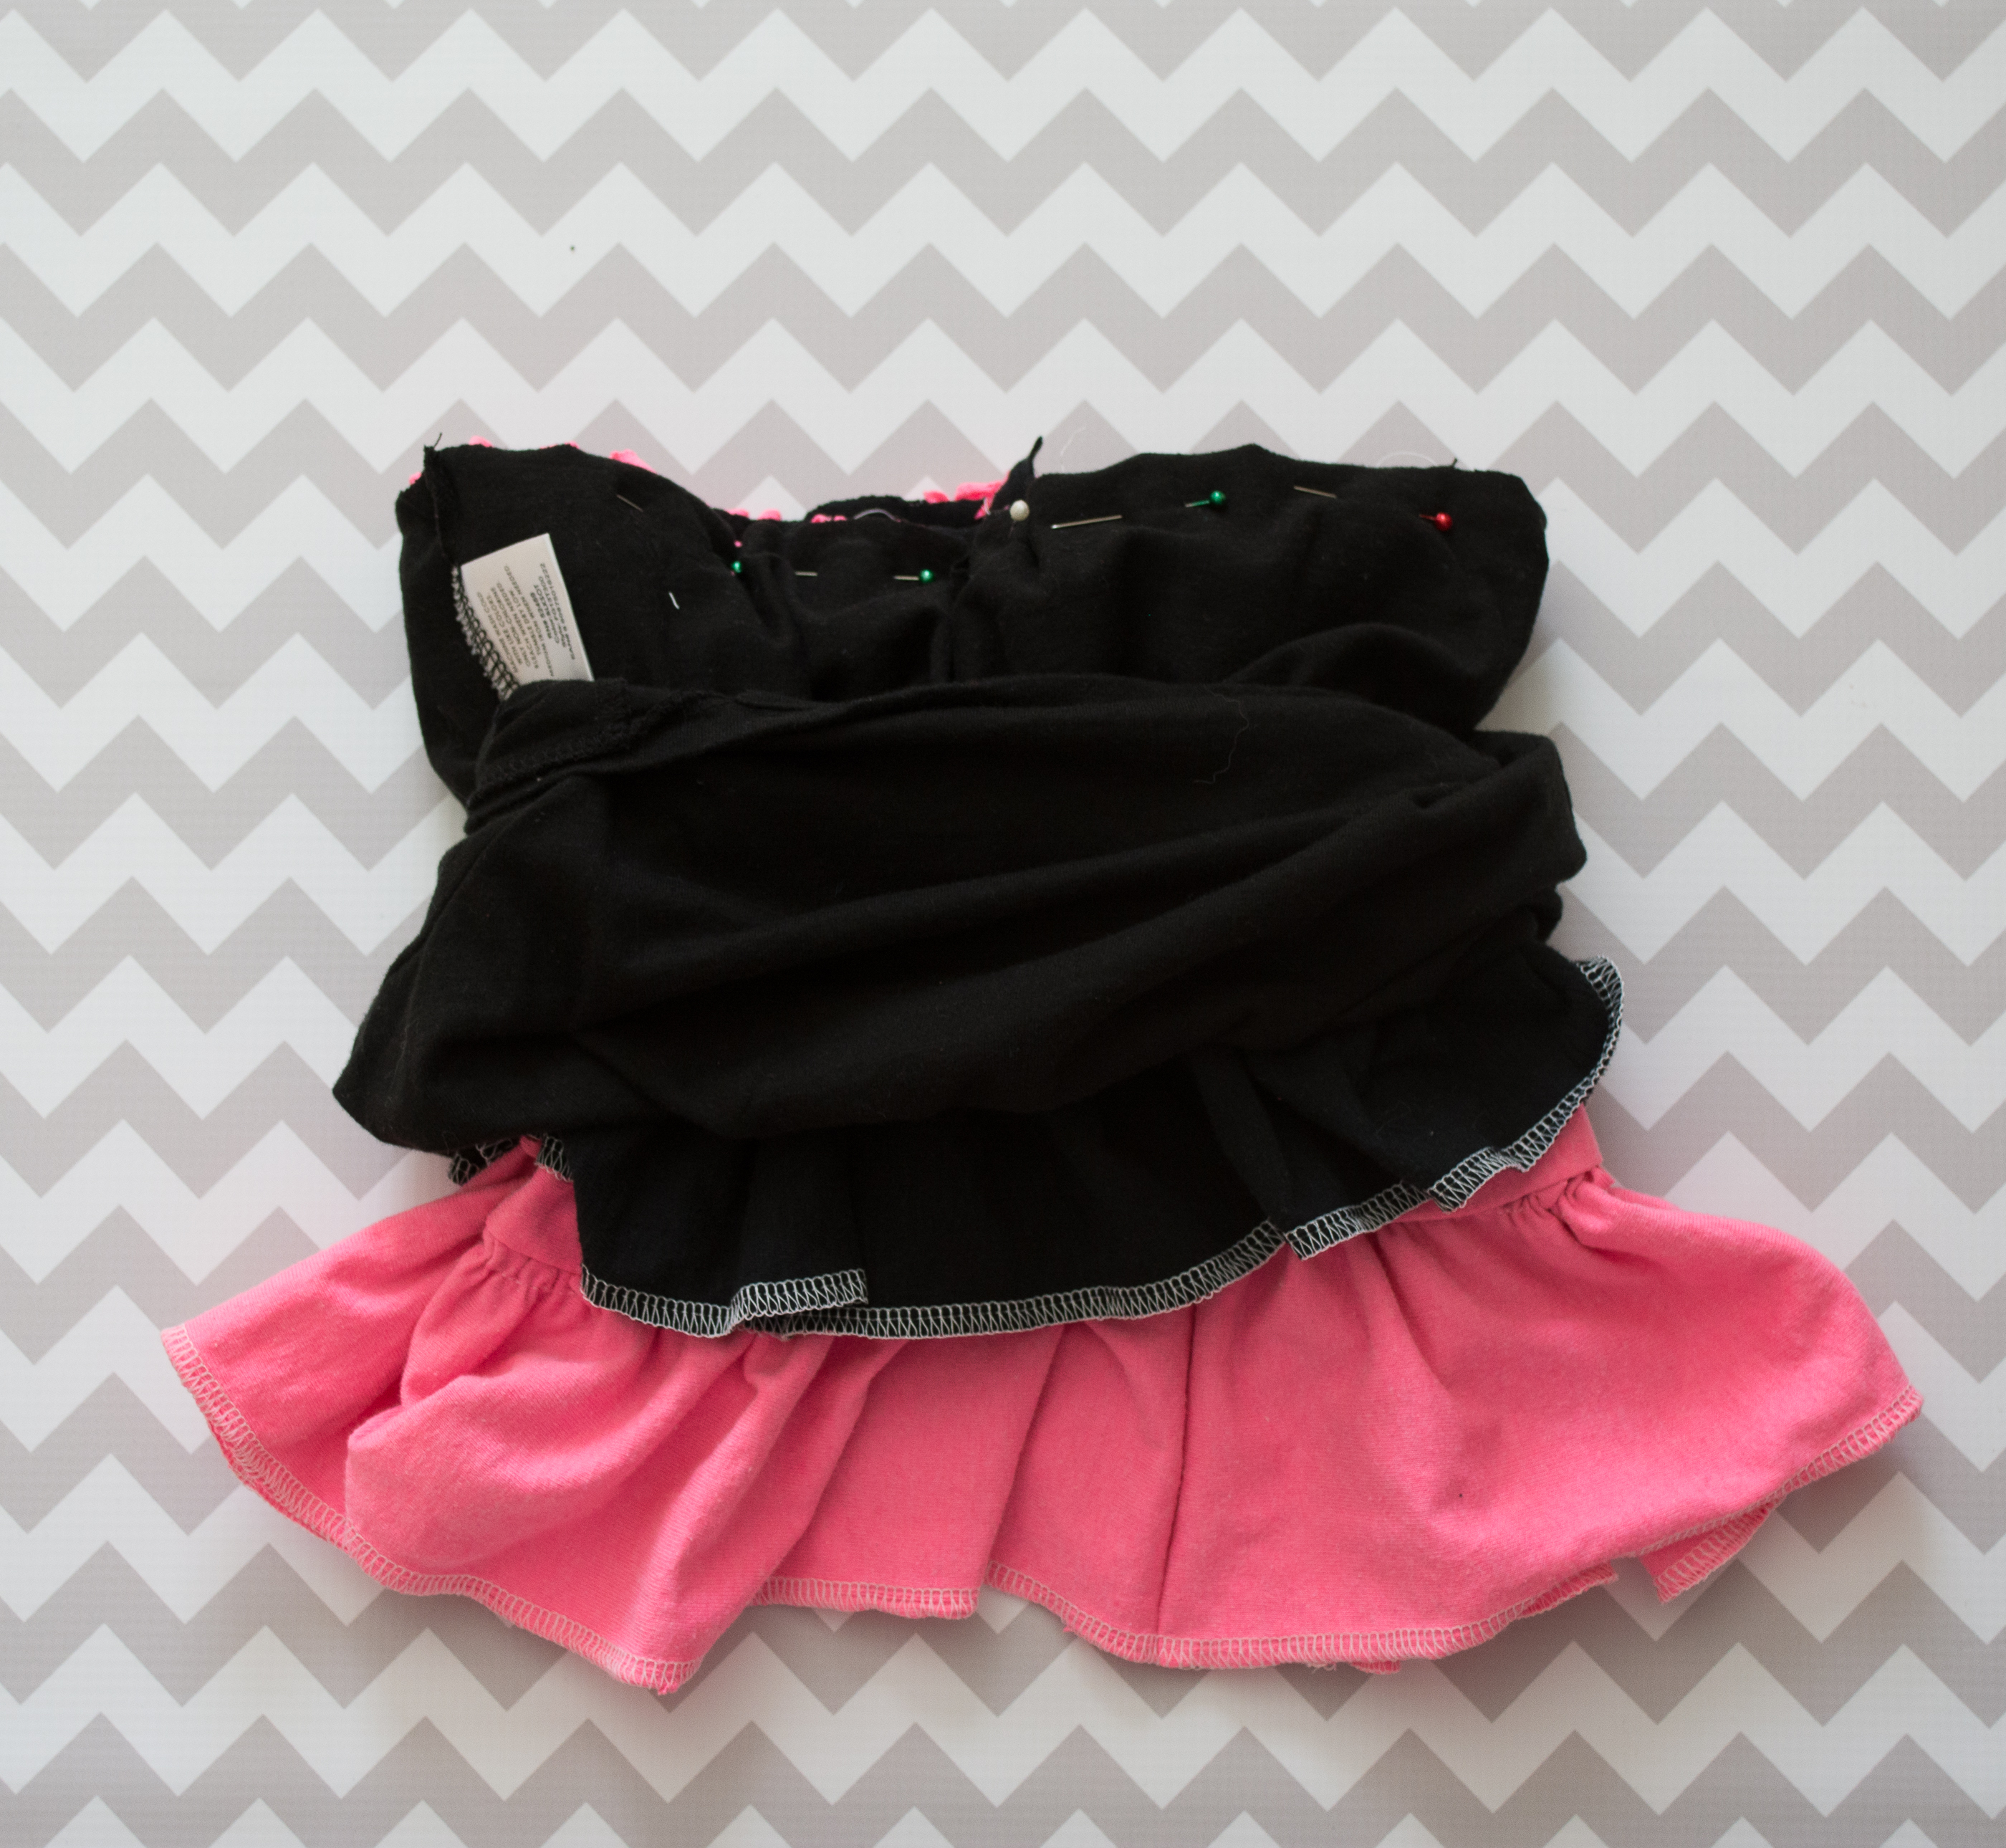
Using a 1/2 inch seam allowance, sew the two pieces together. It should look like this when you are done:

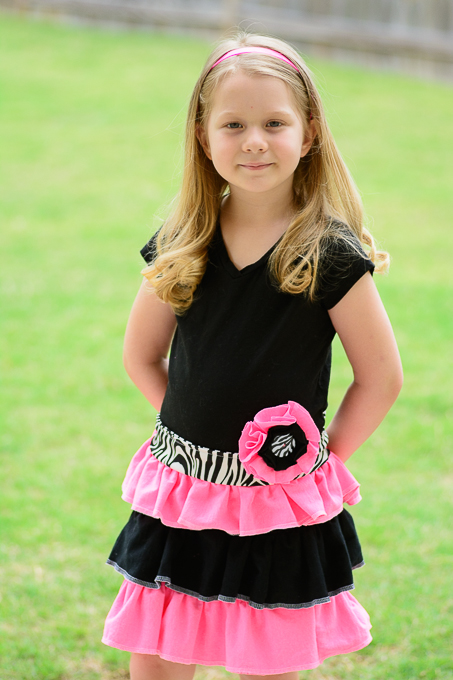
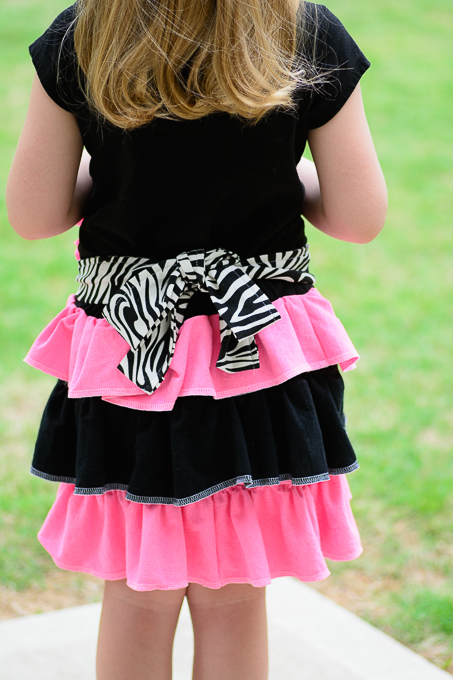
You can leave it like this or you can add a sash or a flower or both. I decided to diva it up a little bit by adding a zebra print sash and a flower that I made from the t-shirt scraps. (you can find the tutorial for the flower here). Adding a sash is easy, you need a fabric piece about 60 x 3.5 inches. Fold and press each edge over 1/4 inch, then fold in half length wise, press and stitch closed. The sash should be 60 x 1.5 inches when you are done.
Place the sash above the skirt and pin along the top. Stitch sash in place along the top to keep the dress from bunching too much.
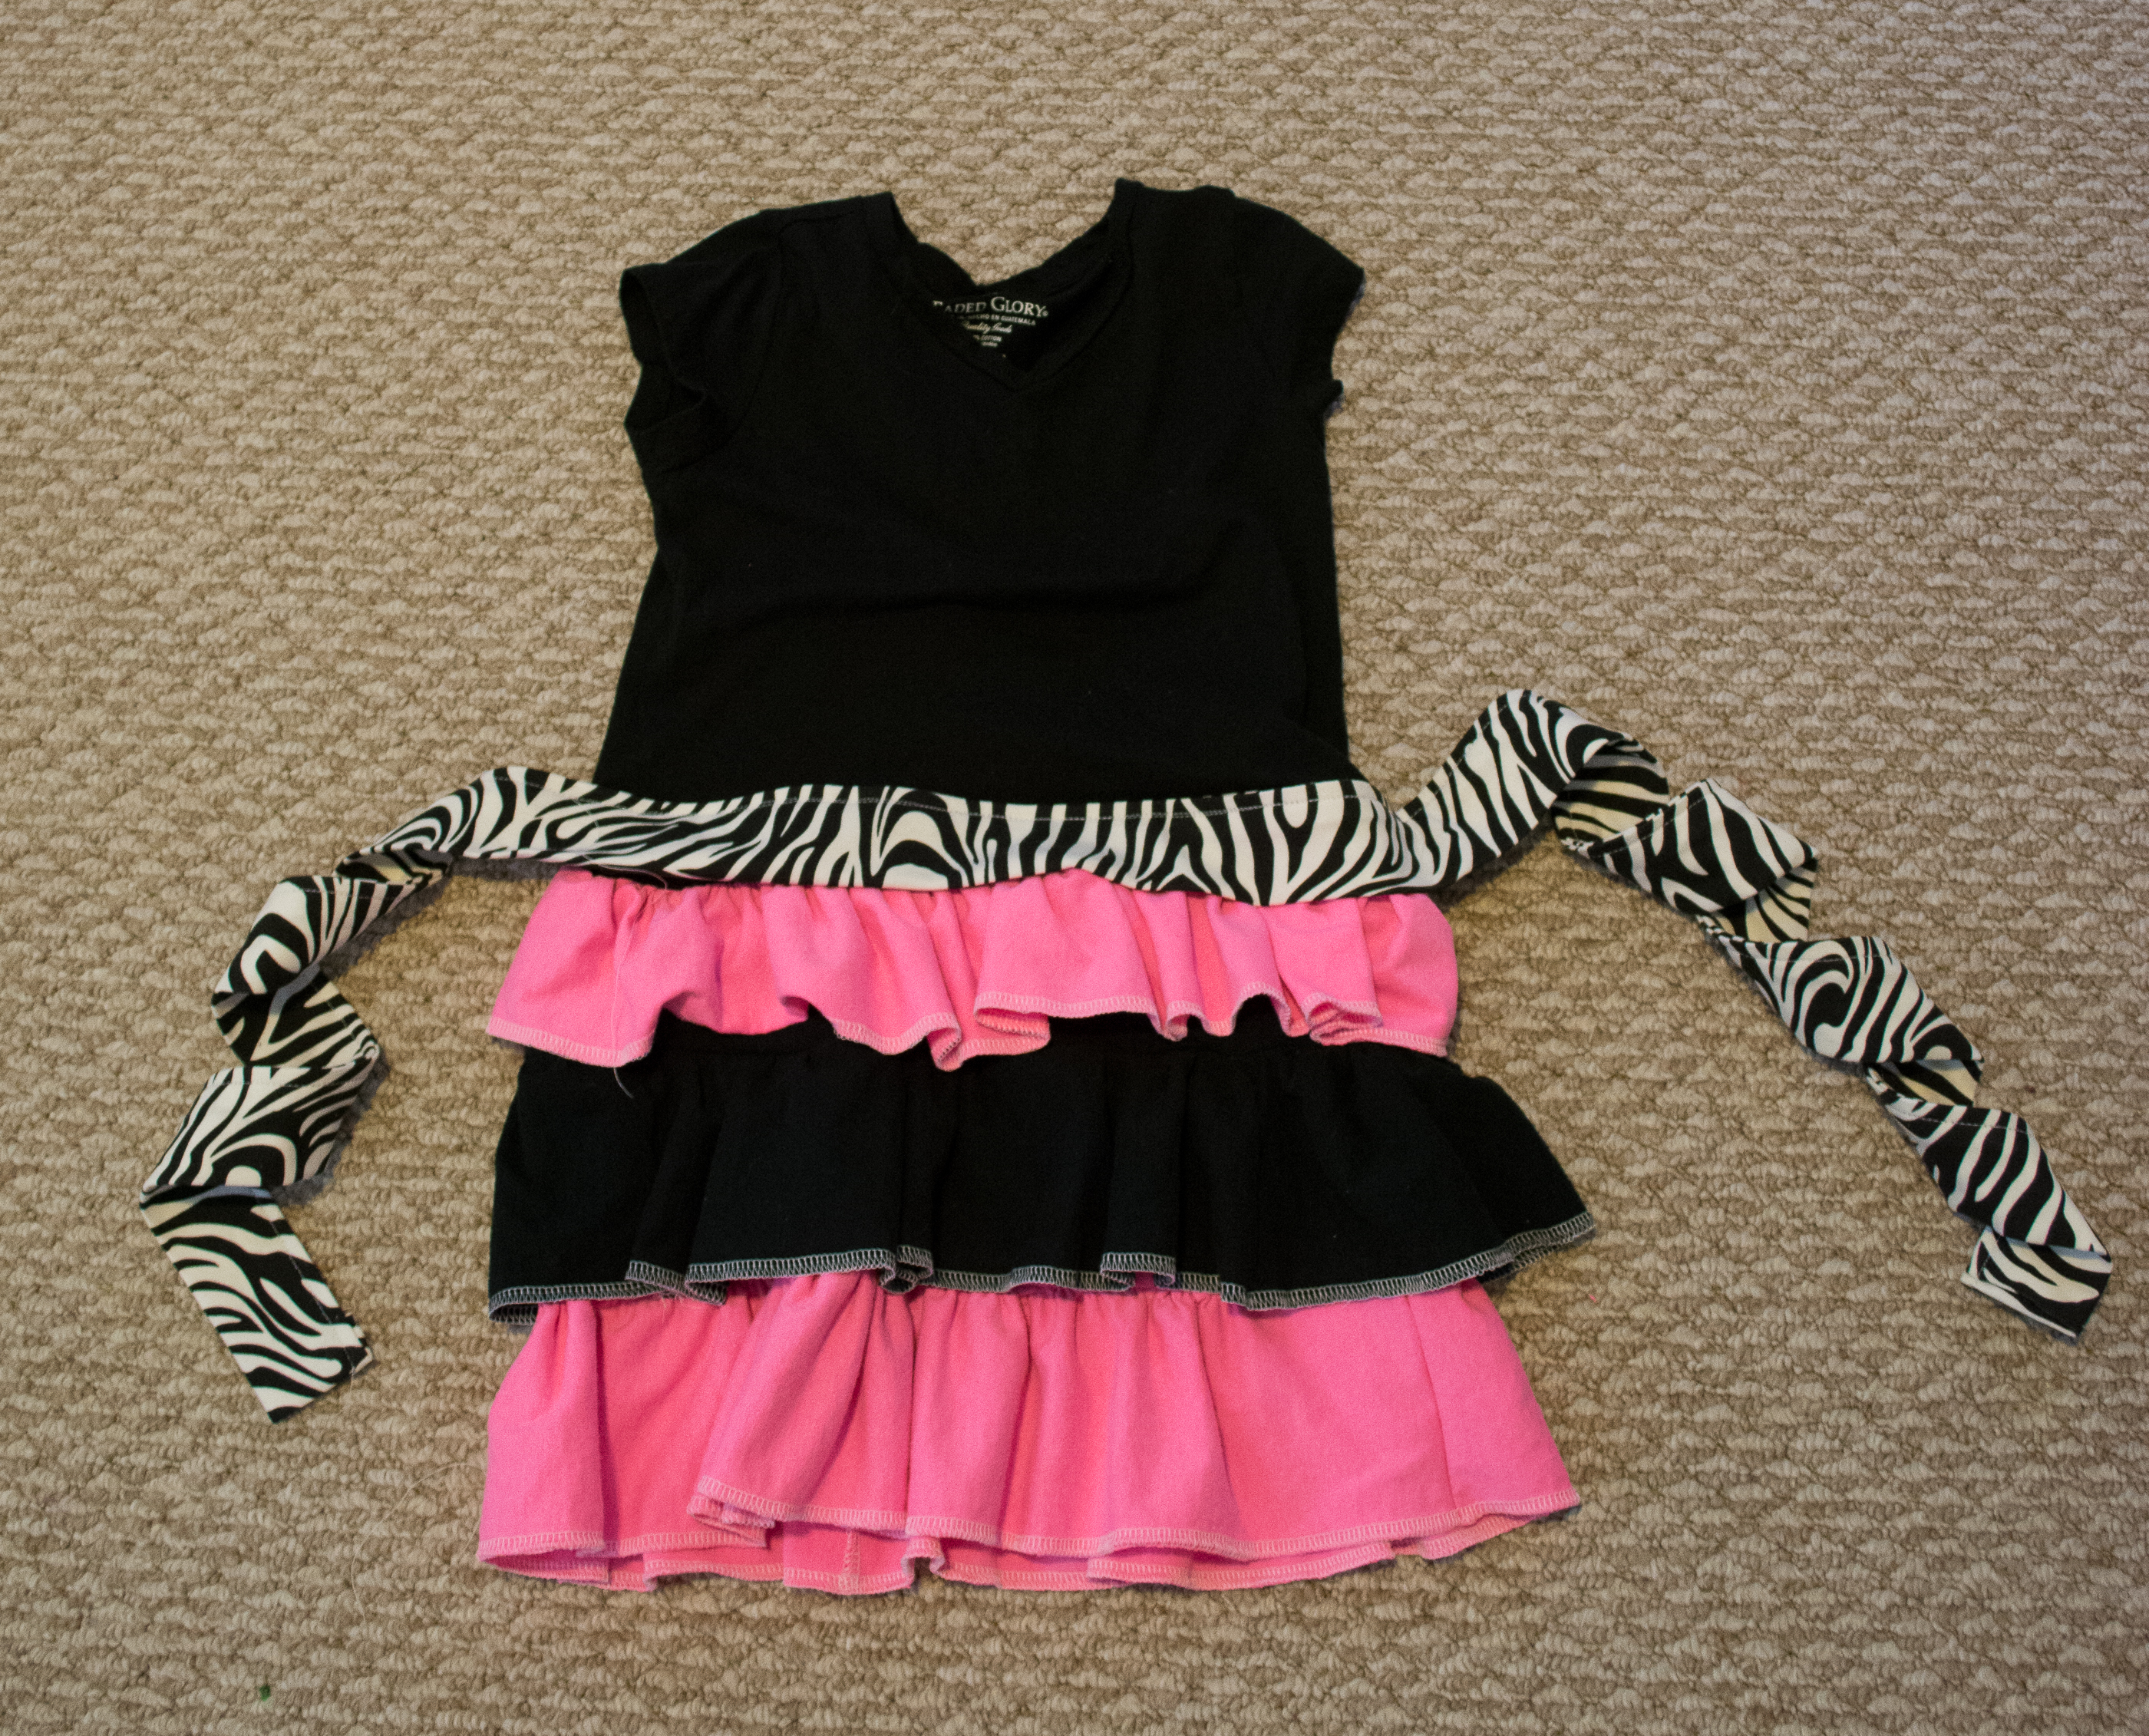
That’s it now you have a dress that can be made from old t-shirts that you probably would have thrown away 🙂
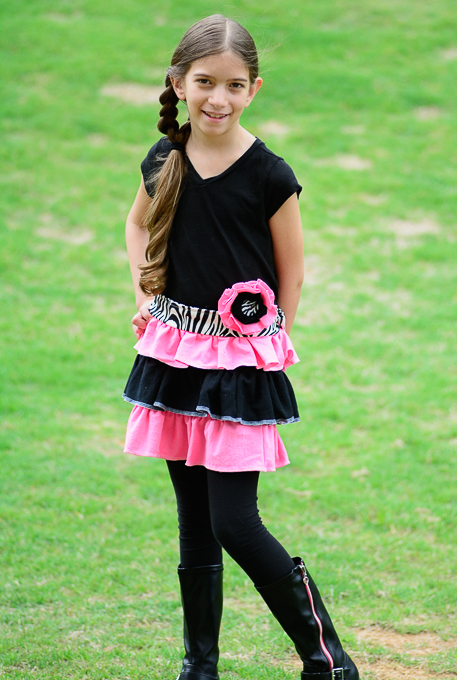
Since my 2 divas like to share clothes, this worked out even better as one could wear it as a dress while the other could wear it as a long shirt. Win, win!
I was selected for this opportunity as a member of Clever Girls and the content and opinions expressed here are all my own.
")


7 Comments