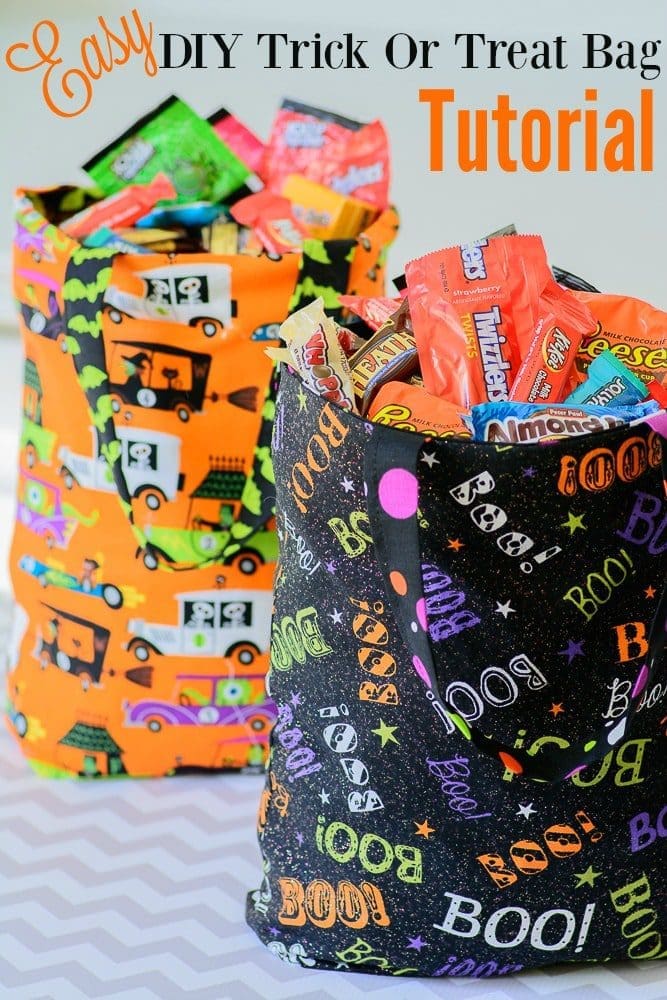
Easy DIY Trick Or Treat Bag Tutorial
EEEEEEK!!! It’s almost Halloween!! Can you believe it?!? Are you so excited? I’m so excited, can you tell??? Halloween is my second favorite day of the year. Kids dressed up in fun and creative costumes running from door to door showing off the costumes they are so proud of and snagging some yummy treats is what I love most.
I never want to be the house that has to turn off their lights early because they ran out of candy, so I stock up on GIANT bags of Hershey’s candy.
These bags are packed full all my favorites like Reese’s Peanut Butter Cups, Milk Duds and Kit-Kats. I may or may not sneak a few to keep up my energy while we hike around the neighborhood, shhhhh, don’t tell the kids 🙂

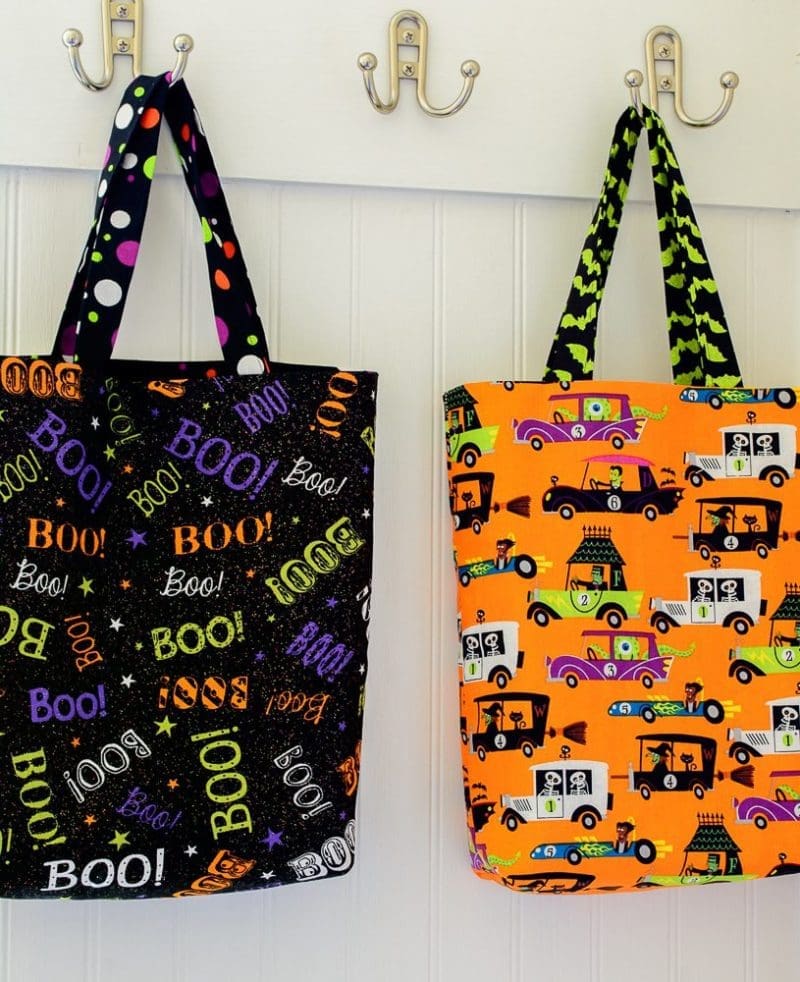
To help my kids harvest their Halloween bounty this year I made them colorful and easy to carry trick or treat bags. I’ve never been a fan of giant plastic pumpkins, awkward pillow cases or too big grocery bags, so I decided to make a bag that will carry their booty without being a burden. It only takes a couple yards of fabric and about 30 minutes to create a cute tote for their trick or treating adventure.
Easy DIY Trick Or Treat Bag Tutorial
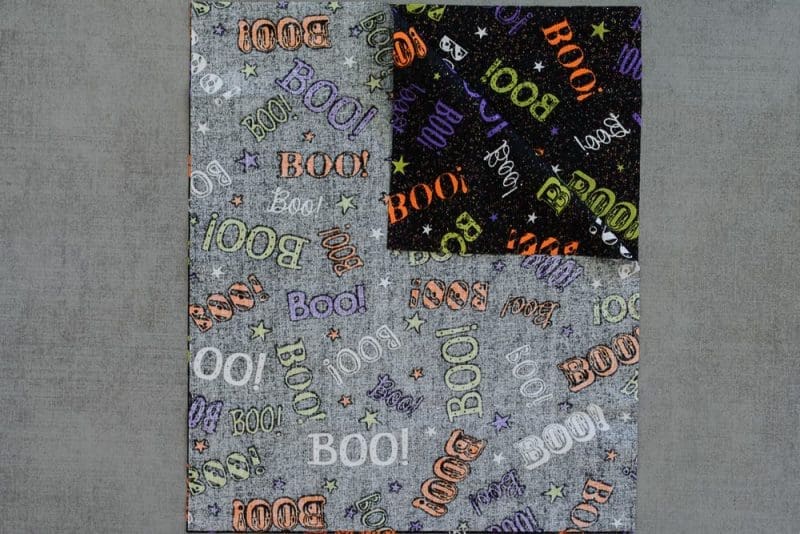
3/4 yard of fabric for the body of the bag
1/2 yard of fabric for the lining
Step 1:
From the body fabric, cut two main body pieces measuring 13-1/2 inches by 11-1/2 inches and two strap pieces measuring 16 inches X 2-1/2 inches. From the lining fabric, cut two pieces measuring 13-1/2 inches by 11-1/2 inches.

Step 2:
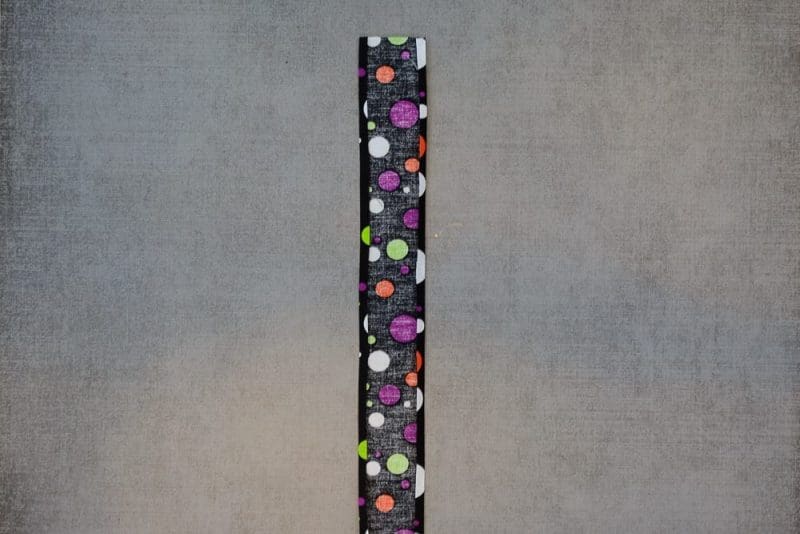
With wrong sides together, press down a quarter-inch along one long edge of the first strap. Repeat with the other long side of the same strap. Repeat for the other strap.
Step 3:
Fold this strap in half with wrong sides together with the pressed edges lined up. Pin in place, press then top stitch to close the straps.

Step 4:
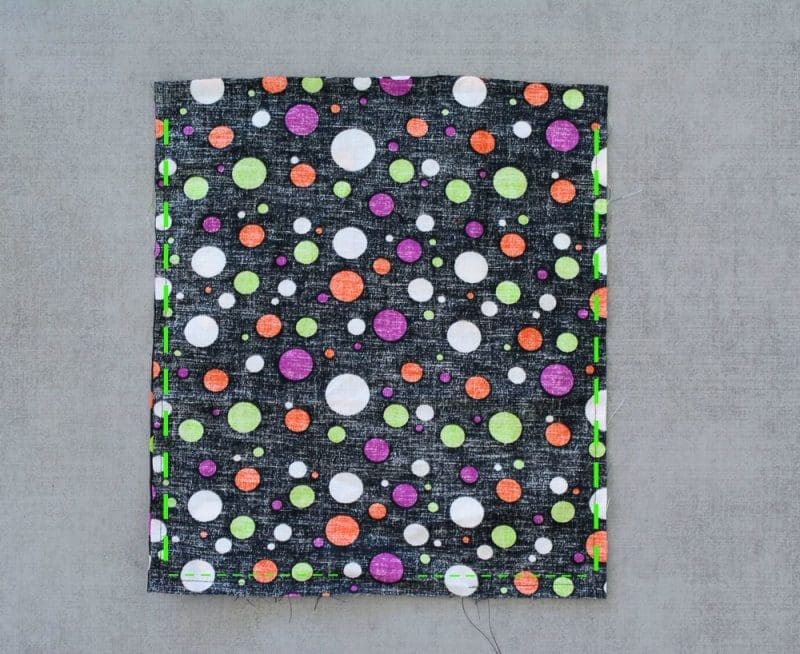
Lay the two main body pieces right sides together. Pin or clamp around the two sides and the bottom of the bag. Using a 1/4-inch seam allowance, stitch around the sides and bottom of the bag. Set aside.

Step 5:
Lay the two solid lining pieces right sides together. Pin or clamp along both sides, but only partially along the bottom. You’re going to leave an unstitched gap of about four inches along the bottom for turning the bag right side out later. Stitch down one side and partway along the bottom of the lining, leave a 4 inch gap and continue stitching up the second side of the lining bag.
Step 6:
Create a boxy bottom for your bag by pulling the front and back fabrics of the lining bag out to the sides so that one of the side seams is now in the middle of the bag in front of you. You should have created a pointy triangle at the top where the side seam comes up in a peak. Align the side seam in front of you so that for a few inches, it’s lying right on top of the bottom seam underneath the bag. Pin a straight line about 2 inches down from the peak, then stitch across. Cut off excess triangle. Repeat for the other side then repeat for the main body of the bag.

Step 7:
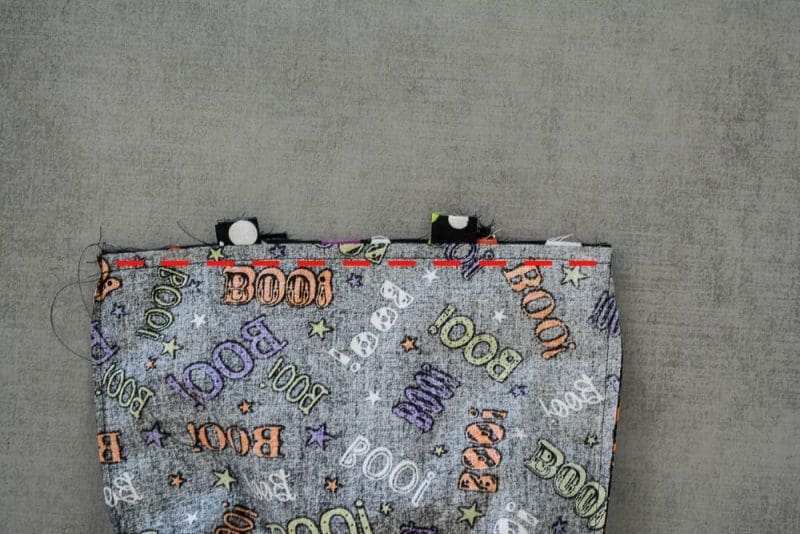
Turn the lining bag right side out. With right sides together insert the lining bag inside the main body bag, poking the boxy corners of the lining bag into the boxy corners of the main bag. Match up the side seams of both bags and pin in place. Pin the strap between the main body and the lining (making sure it is not twisted) with the outside edges of the strap positioned 2-1/2 inches from each side seam of the bag. I like to leave the short edges of the strap sticking up just a bit from the raw edges of the bag top so that I can be sure I’m catching them in my seam later. Repeat with the second strap on the other side of the bag.

Then pin the entire top edge of the bag with the edges lined up, the strap edges poking out and the side seams of the main bag and lining aligned. Using a 1/4-inch seam allowance, stitch along the top edge of the bag making sure to catch both straps’ short edges in your stitching.
Step 8:
Pull the bag lining out of the main bag and turn the bag right side out through the 4-inch opening at the bottom of the lining fabric.

Stitch the lining opening shut. Stuff the lining back inside the main bag. Press the top edge of the bag, then edgestitch around that top edge. This will make the bag look a little more finished and will strengthen the straps a bit in case the neighbors hand out tons of candy.
That’s it! Now your little monster is set to venture out into the neighborhood to gather all the treats he or she can find 🙂 Happy trick or treating!!


One Comment