Campfire Cinnamon Roll-ups
Campfire Cinnamon Roll-ups are a must have camping recipe! Perfect for a camping breakfast or after dinner treat. This is a fun recipe for any camping trip!
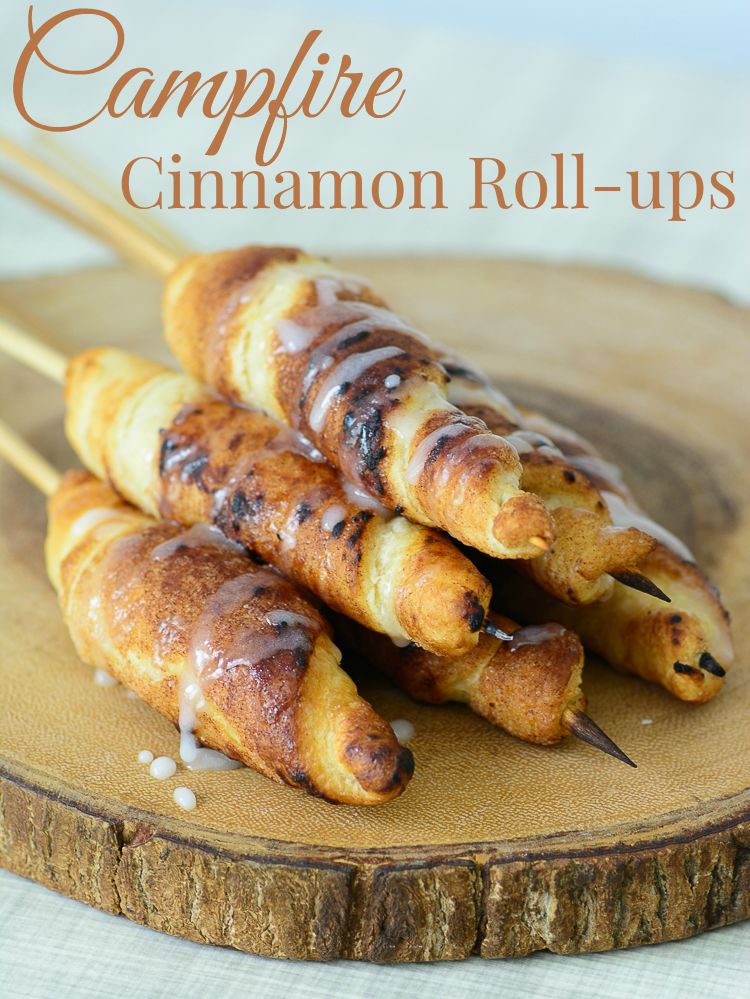
Camping season is here, and nothing says outdoor adventure like a delicious treat cooked over an open flame. Forget the usual s’mores; it’s time to elevate your campfire game with these Campfire Cinnamon Roll-Ups. These sweet, gooey delights are simple to make and will undoubtedly impress even the grumpiest camper.
Prep Like a Pro
First things first, gather your ingredients. You’ll need refrigerated crescent roll dough, cinnamon, sugar, and butter. Yes, that’s it! Minimal ingredients mean maximum fun without the fuss. Plus, you can toss them in your camping gear without needing a kitchen sink’s worth of utensils.
Start by mixing sugar and cinnamon in a bowl. This is your magic dust, so definitely don’t skimp. Next, pop open that can of crescent roll dough (the pop always makes me jump, but hey, it’s part of the adventure). Unroll the dough and separate it into triangles.
The Roll-Up Ritual
Here’s where the fun begins. Roll up each triangle, starting at the wide end and rolling towards the point. You want to make sure they’re snug and ready to cook. Next, dip your crescent roll in the cinnamon sugar mixture, don’t be stingy here!
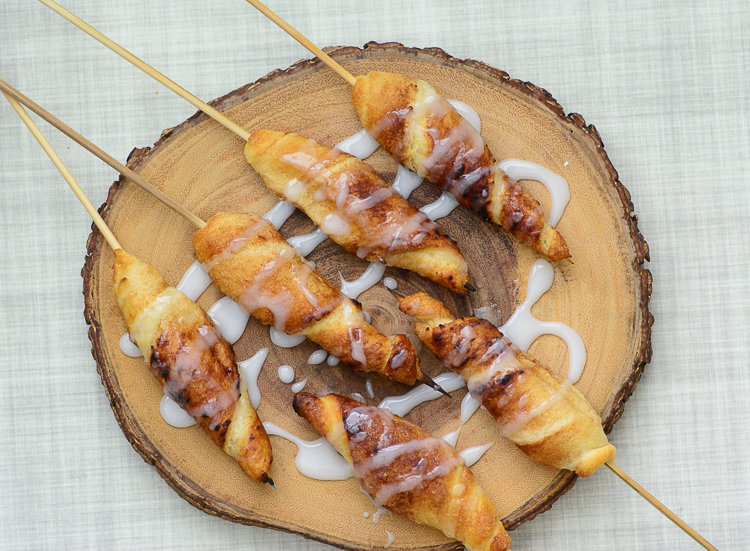
Now, let’s talk campfire logistics. Skewer each roll-up on a stick or metal skewer. If you forgot skewers (it happens), you can improvise with clean branches. Hold your roll-ups over the campfire, but not too close. Rotate them slowly to ensure they cook evenly. The goal is a golden-brown exterior with a slightly doughy center.
The Sweet Reward
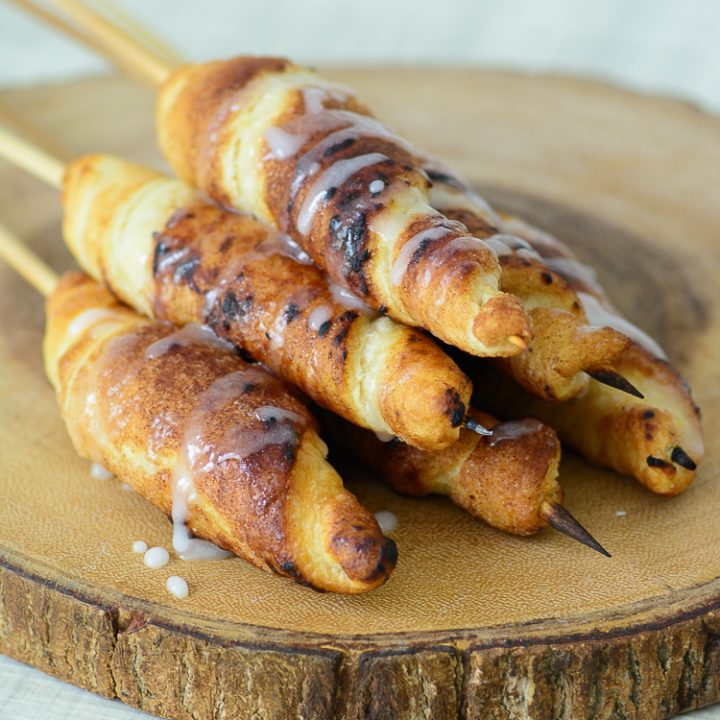
Once your roll-ups are cooked to perfection, let them cool slightly before diving in. The combination of flaky dough, buttery goodness, and cinnamon-sugar sweetness is pure magic. They’re portable, shareable, and a delightful twist on campfire classics. Additionally, if you want to level up your campfire cinnamon roll-up, drizzle or dunk it in a little frosting. Canned or pouch frosting works great for this!
These Campfire Cinnamon Roll-Ups are more than just a dessert; they’re an experience. They’re fun to make, even more fun to eat, and they bring a touch of gourmet to the great outdoors. Plus, they’re a fantastic way to get everyone involved in the cooking process. Kids, adults, and even that one friend who insists on bringing gourmet coffee equipment to the campsite will be impressed.
So, next time you’re packing for a camping trip, skip the boring snacks and bring the ingredients for this simple yet sensational treat. They’re easy to make, delicious to eat, and guaranteed to make your camping trip memorable. Happy camping, and may your campfire cinnamon roll-ups be ever golden!
Campfire Cinnamon Rollups
Campfire Cinnamon Roll-ups are a must have camping recipe! Perfect for a camping breakfast or after dinner treat.
Ingredients
- 1 package crescent rolls
- 1/4 cup sugar
- 1 tbsp cinnamon
Instructions
- Combine cinnamon and sugar in small bowl
- Separate crescent rolls and wrap them around the skewer
- Roll it in the cinnamon sugar mixture
- Cook over campfire for 5 minutes, rotating frequently
- Optional - Mix 1/4 cup powdered sugar and 2-3 tbsp water together to make a glaze and drizzle over cooked roll-up
Notes
Tip: Don't try to use cinnamon rolls from a can instead of crescent rolls, the dough is too heavy and thick and will fall off of the stick into your campfire or not cook all the way through.
Nutrition Information:
Yield: 8 Serving Size: 1Amount Per Serving: Calories: 110Total Fat: 5gSaturated Fat: 0gTrans Fat: 0gUnsaturated Fat: 0gCholesterol: 2mgSodium: 15mgCarbohydrates: 12gNet Carbohydrates: 12gFiber: 1gSugar: 7gProtein: 0g


21 Comments